
Now that PowerShell 6.0 has been officially released you can run PowerShell on Linux and Mac, in addition to Windows of course. So, with that you can now run the new PowerCLI 10 on MacOS!
While Microsoft’s documentation specifically sites MacOS 10.12, I can assure you that this entire process was done from a MacBook Pro running 10.13.3, using all of the same commands in their documentation.
Before you get started there are a couple of prerequisites you’ll need to install. The first is Homebrew. Homebrew is the package manager you wish Apple installed in MacOS. It easily installs just by running the following line (found on their site):
/usr/bin/ruby -e "$(curl -fsSL https://raw.githubusercontent.com/Homebrew/install/master/install)"

You’ll be prompted to enter in your sudo password. As the Homebrew install is running it’ll tell you what it’s up to.

After Homebrew it’s time to install Homebrew-Cask. Cask extends Homebrew and makes it even easier to install your favorite software. With Cask you’ll have access to tons of repositories, like installing PowerShell modules from the PowerShell Gallery.
To install Cask run the following command:
brew tap caskroom/cask

And now that Cask is installed let’s go get PowerShell!
brew cask install powershell
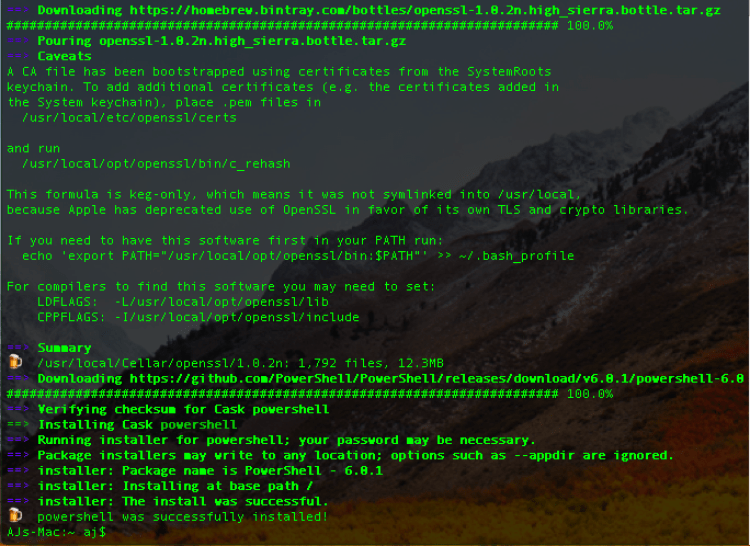
After PowerShell installs there is a PowerShell icon in your Applications directory, or from a Terminal window you can simply type pwsh to launch PowerShell.

Now that PowerShell is installed, and we’re at a PowerShell prompt, we can go get PowerCLI. If you’ve done this before on a Windows machine the process is no different!
Install-Module -Name VMware.PowerCLI

Another shot of PowerCLI installing:

That’s it! Now you can use PowerCLI from your Mac!

