
So I’m finally getting around to setting up my home lab and I thought that I would document the process of deploying the vCenter Server appliance for anyone that may be interested. For my benefit, and yours, I’m intentionally deploying 6.5 so I can go through the upgrade process on the new VCSA. I’ve upgraded plenty of Windows based vCenter deployments, but I’ve not yet upgraded a VCSA yet, so stay tuned for the update post later on.
First thing’s first of course, you need to have ESXi installed and running on some hardware. Once you have ESXi all squared away you can get started with the VCSA deployment.
One of the many great things about VMware is that you can get the software for free and run it in trial mode. Just go create a free my.vmware.com account if you don’t already have one, then register for a trial on the product you want to try. So, if you just wanted to practice this process you’re free to do so. However, if you want to run the server for a longer period you’ll need to license it. For a home lab you can get a VMUG Advantage membership for about the same price as buying VMware Workstation and have licenses for nearly every product VMware sells, including vSphere Enterprise Plus, vCenter Standard, NSX, Workstation, Fusion, and more! At the time of writing a current VMUG Advantage Membership is $200. You can get discounts for bulk purchasing.
STAGE 1: Deploy APPLIANCE
This article assumes you’re using Windows 10. If you’re using a different version of Windows or a different OS these steps will vary. Once your ISO has downloaded locate the file and double click to mount the ISO. Then, browse to the mounted ISO.
- From the root of the ISO image click on the vcsa-ui-installer folder

2. Open the win32 folder

3. Double click installer.exe to run the VCSA installer application

4. The installer launches.
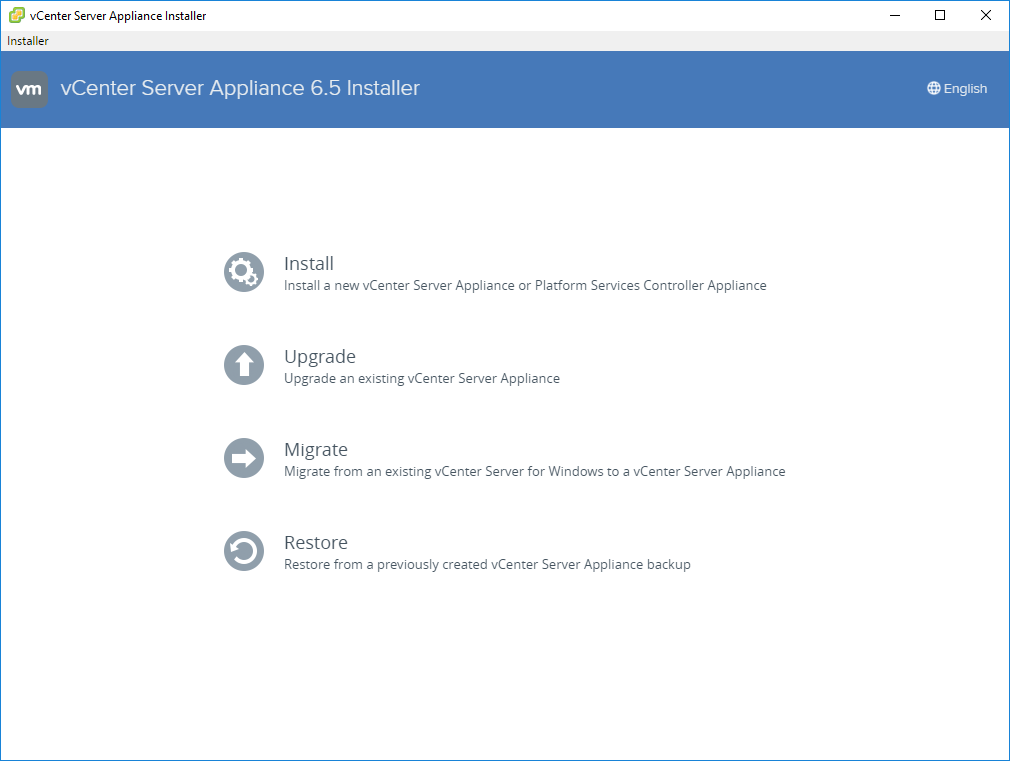
5. Click on Install to begin the process.

6. Welcome to Stage 1 – review the page if you’d like and then click next.

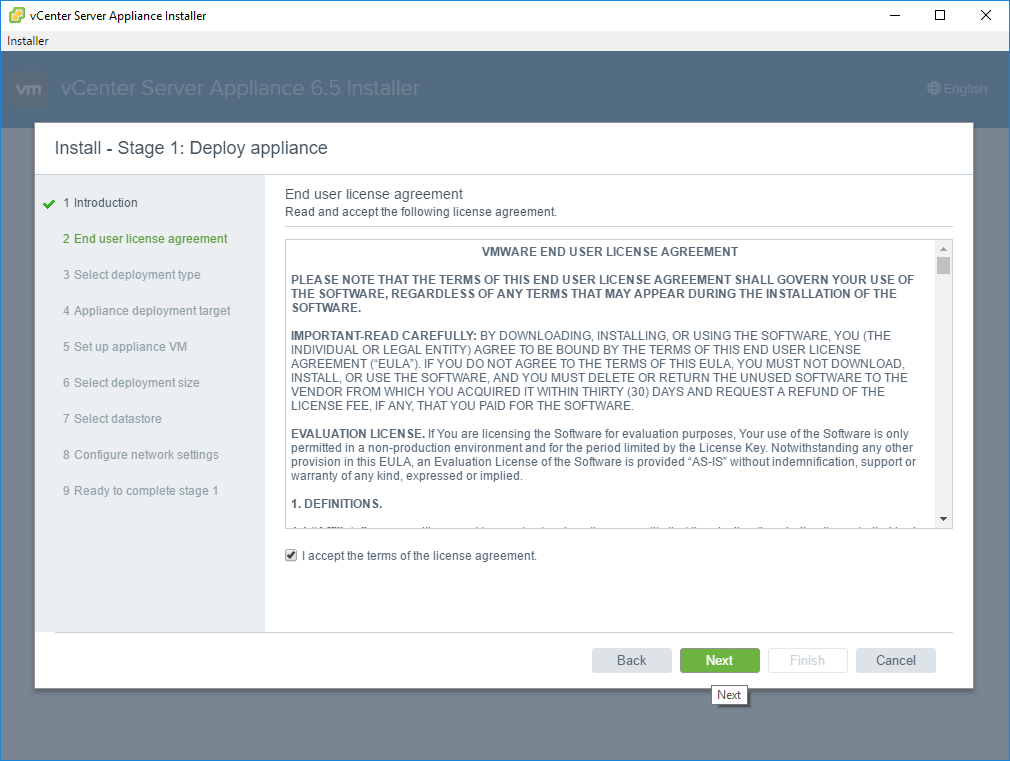
7. Accept the EULA by ticking the check box and then click next.
8. Select your deployment type. If this is for your own home lab or smaller environments then embedded PSC is the best option to choose. However, if your environment is a little more complex then you may want to consult the VMware vCenter deployment guide.

9. Configure your deployment target. This is the ESXi host you intend to deploy your VCSA on. You’ll need to enter an FQDN or IP Address and the username and password of an account with Administrative rights on the host. Typically this is the default Root password you configured when you setup that ESXi host.

10. Accept the certificate warning by clicking Yes.

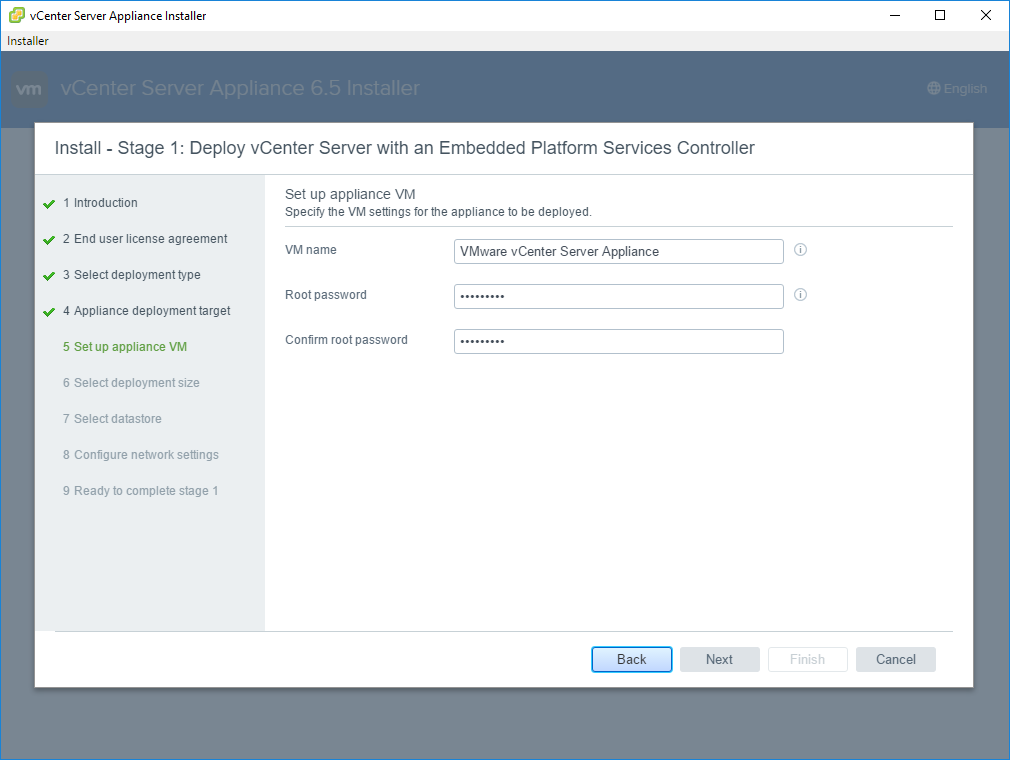
11. Setup your VCSA VM by entering in the name of the VM, this is how it will show up in vCenter and in the ESXi VM inventory. You’ll also need to enter and confirm the new VCSA root password.
12. Select your deployment size and then click next. There is a handy sizing guide displayed here as well so take not on how many hosts you plan to manage and/or the number of VMs you intend to run.

13. Select the datastore where you want the VCSA files to be deployed to. You must have already configured a datastore on your ESXi host for an option to appear here. Since this is my lab environment and I don’t have a ton of storage I selected “Enable thin disk mode” here. You may also want to do the same, even in a production environment. I would not recommend this for larger deployments.

14. Configure network settings. This step is really important! Your system name should be an FQDN, and the FQDN must be able to resolve to the IP address you enter here. If that cannot happen this install will fail. If you are re-using an IP that belongs to a stale record in DNS that will also cause problems.

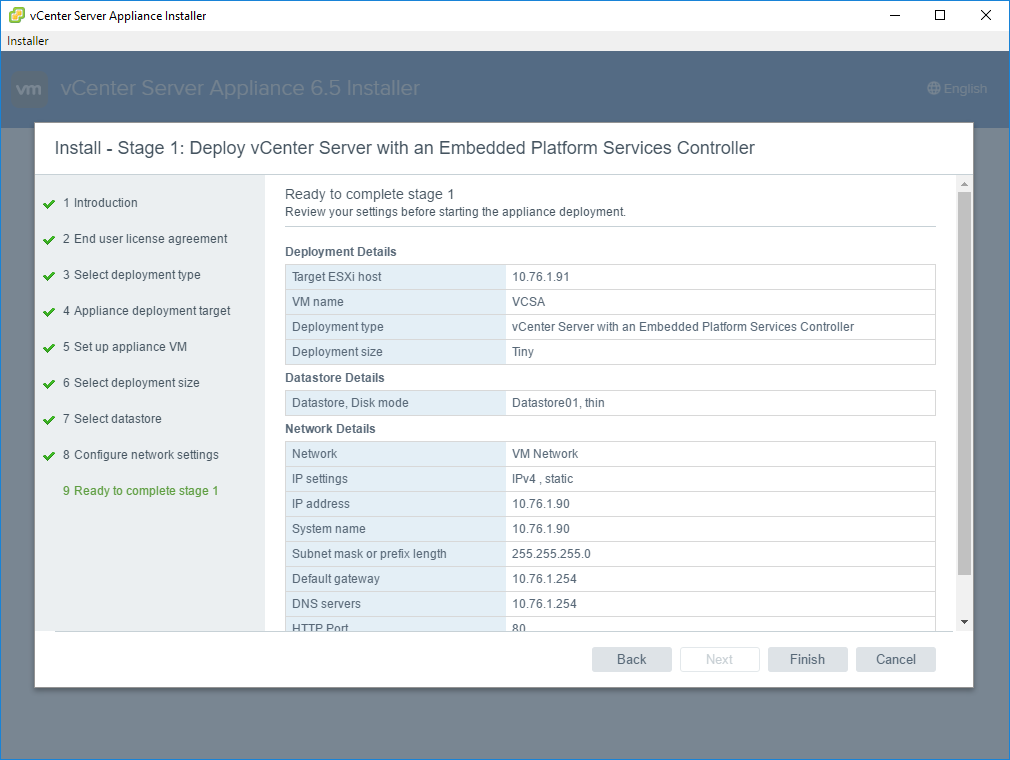
15. Confirm your configuration settings and then click finish
16. Monitor the installation process.
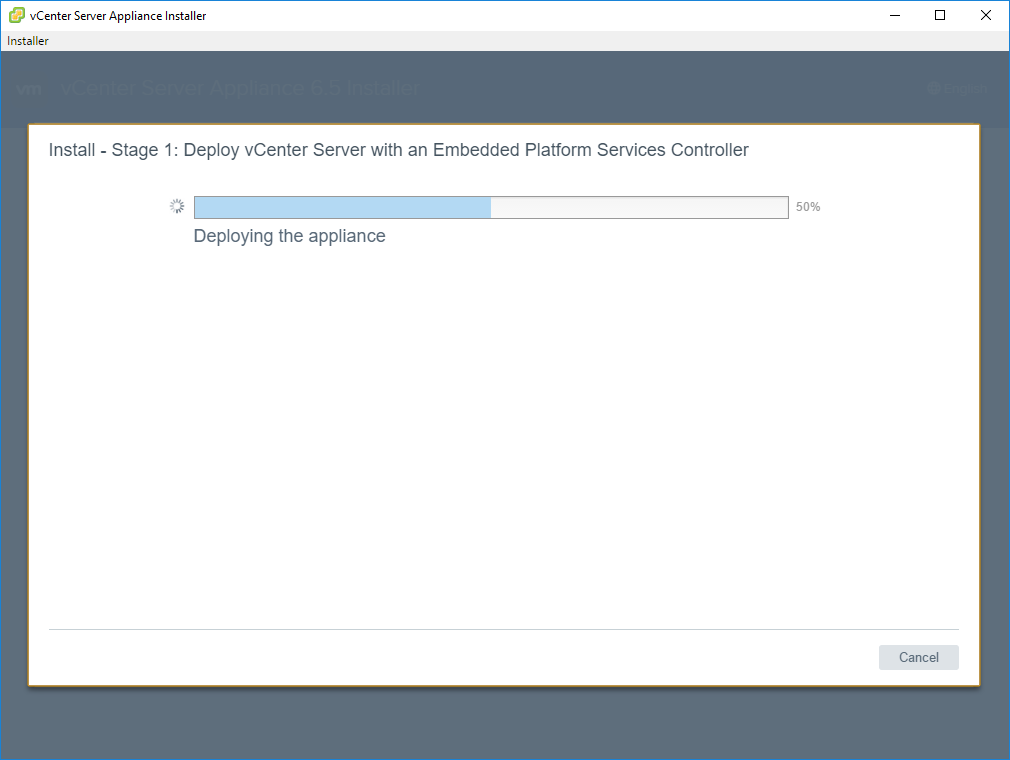
17. When the process completes click Continue.

Stage 2: Setup appliance
With Stage 1 complete now we can move onto stage 2, setting up the appliance. Here we’ll configure NTP – with is super important to your VMs – and your single sign-on domain. This is local to your vCenter instance and is not associated with Active Directory, that’s an article for another day.
- Beginning of stage 2 here, just go ahead and click next.

2. Appliance Configuration – Here you configure your NTP servers. Now, typically for stuff like this I’d use a local time source, but Time in the virtual environment is really important. This is where your VMs will get their time information so it’s best not to point your VCSA to another VM it manages for it’s time. I like to use time.nist.gov and pool.ntp.org as time sources. Here you can elect to enable SSH on your VCSA, it is req’d if you’re doing to utilize HA for VCSA.

3. Configure your VCSA Single Sign-On settings. The default domain to use here vsphere.local. Then, enter and confirm a password for the Administrator account. Enter in a site name. Enter in default-site. It’s displayed here by default but it’s grayed out. That’s just a suggestion and you need to actually type something in here.

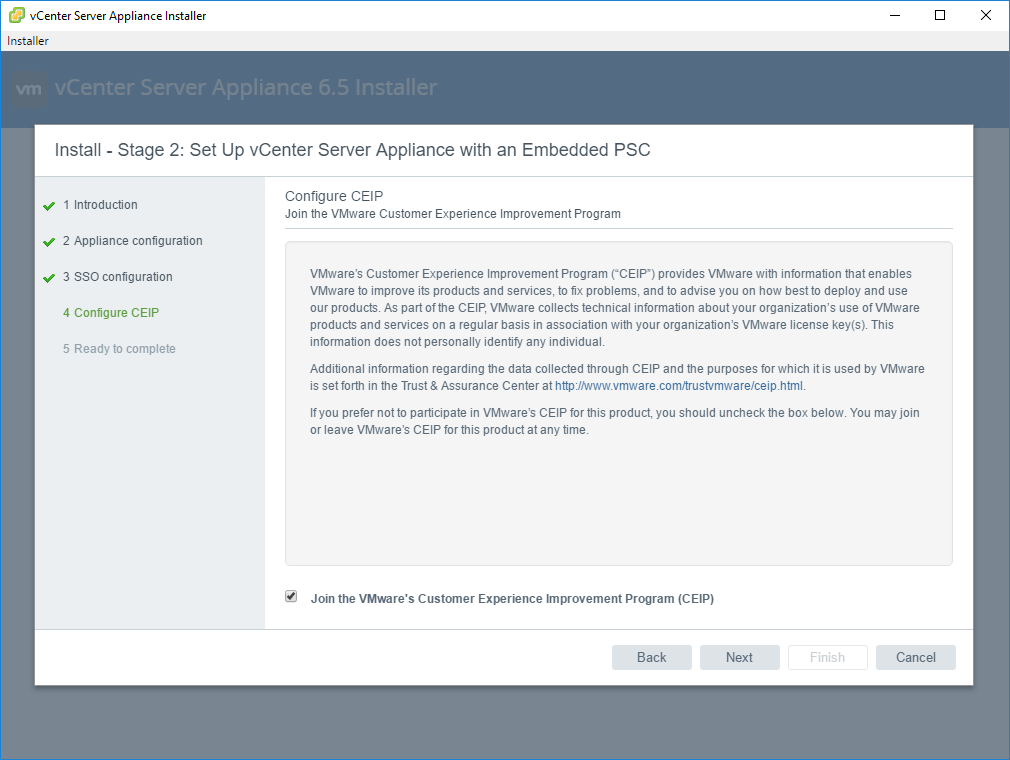
4. Customer Experience Improvement Program – this is allowing, or not, your VCSA to send data back to VMware on your installation and use. The type of information collected can be found here: https://www.vmware.com/solutions/trustvmware/ceip.html. If you want to participate leave the box checked, if you do not then uncheck the box and then click next.
5. Review your VCSA settings and then click Finish.

6. A warning pops up about not being able to pause or stop this process. Click OK if you’re ready to proceed.

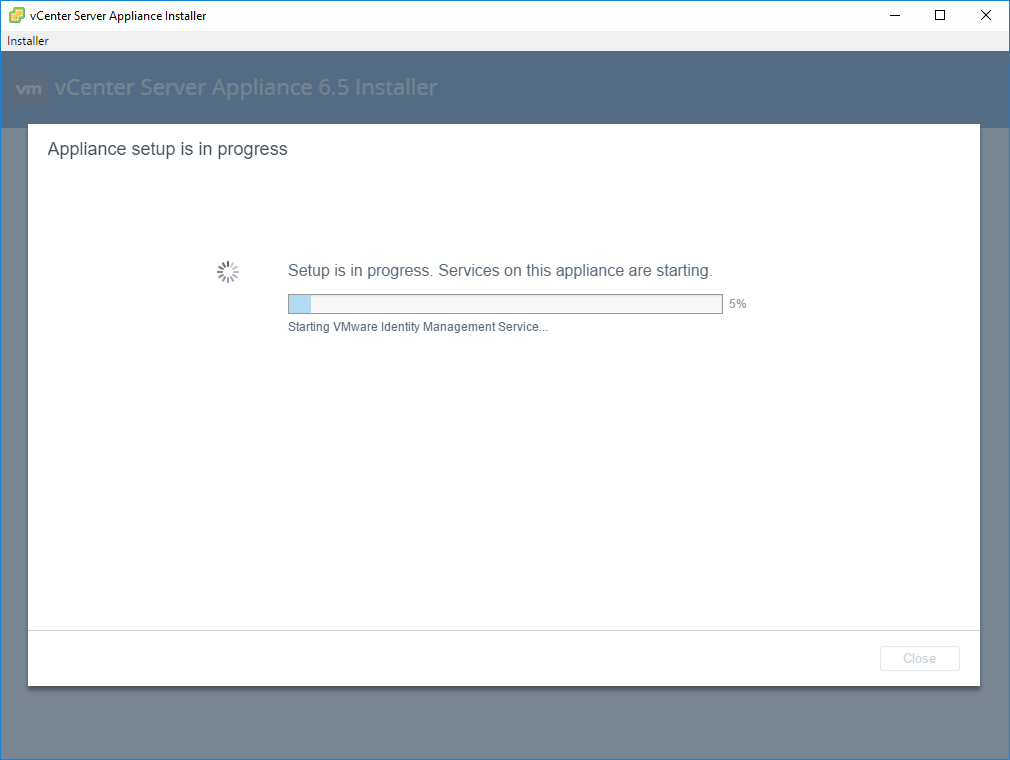
7. Monitor the progress and watch for errors.
8. Complete! So notice here I’m given a URL that says “photon-machine.” This happens when you give an IP address rather than a FQDN or your DNS server can resolve the host name you provided during setup. Since my home router isn’t authoritative and is just a forwarder it can’t resolve. You should still be able to get to your new VCSA by browsing to the IP you provided during setup.

A quick test of that shows that I can get to my new VCSA!

That’s it!
Installation complete! Now you can login and complete some common post installation tasks. If this is a production environment you’d add your hosts/clusters, license your vCenter server, and more.
Feedback welcome
Did I miss something? Did I get something wrong? Do you like what I do? Well then leave a comment and let me know! Thanks!
