
How to Upgrade your Synology NAS Storage Drives!
This post may contain affiliate links and I may earn a small commission when you click on the links at no additional cost to you. As an Amazon Affiliate I earn from qualifying purchases.
In this article I’m going to show you how to upgrade the drives in your Synology NAS storage device!
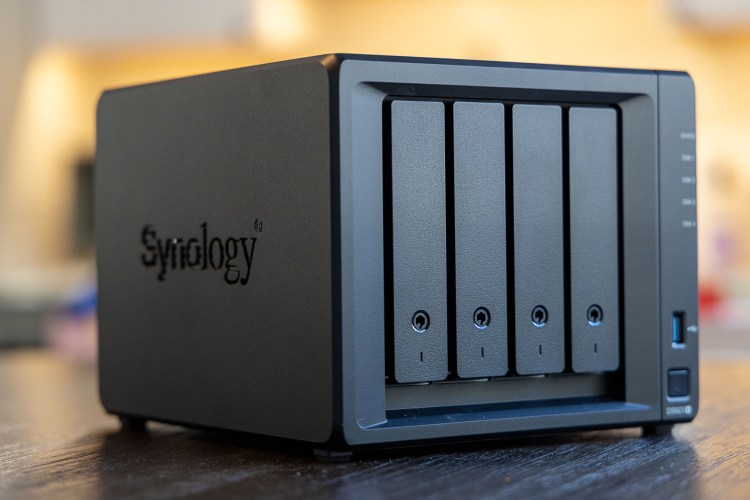
When I originally got my Synology 4-Bay Diskstation 923+ I had three 2TB drives in it. Now, I was to upgrade to 4TB drives. The process is SUPER easy to do!
As always, before starting any maintenance it’s a good idea to have a backup copy of your data, so back it up first and then we’ll jump in.
The Drives
I don’t use my NAS for working storage, it more cold storage. I do lots of photography and editing shows The Art of Network Engineering and Cables2Clouds podcasts. Raw files for these takes up a lot of space on my little drive. So, after I’m done editing and exporting an episode I move the project files over to the NAS so I can easily retrieve later.
For my purposes the Western Digital Red 4TB drive was a perfect fit! As of this writing writing those drives are $79 each! That’s 12TB of storage for less than $400!
The Upgrade Process
So, depending on how many drives you have in your Synology will determine about how long this process will take. But, at a high level, you’re going to replace one drive at a time and let the Synology repair itself. Once the repair is complete, shutdown the Synology and replace the next drive to repeat the process over again. Let’s take a closer look:
- Safely power down the unit. You can do that by logging into the Synology NAS dashboard, clicking on the person icon in the upper right hand corner of the screen, and then click shutdown.

2. After a few moments the NAS will shutdown. Now, pop out one of the old drives, and install the new, larger drive.
3. Power the NAS back on using the power button on the front.
4. After boot up it’ll perform a health check of the drives and find a new initialized drive in place of one of the old drive. You’ll hear and alert beep and the status light on the front will flash orange. Now return to the login page.
5. Once logged in you’ll be greeted with error message about a critical issue with your storage.
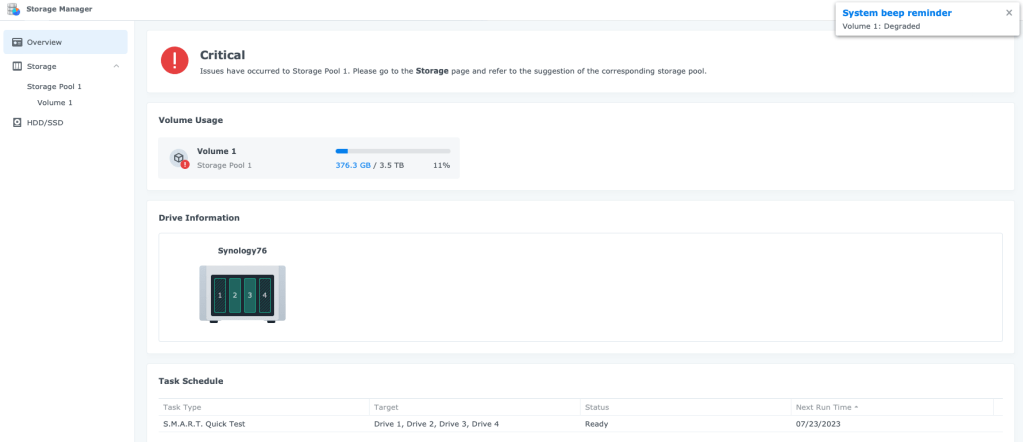
6. Go ahead and click on your Storage Pool in the left hand side navigation menu.
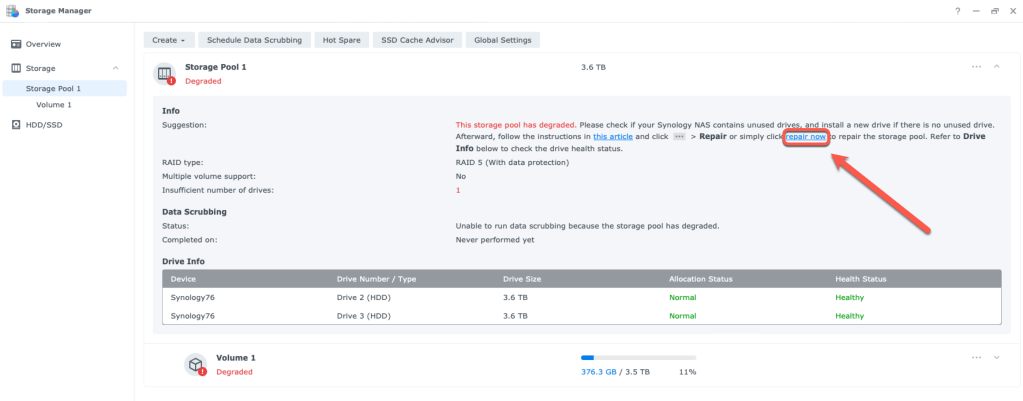
7. The Storage Pool status will show as “Degraded.” Start the repair process by clicking on “repair now”
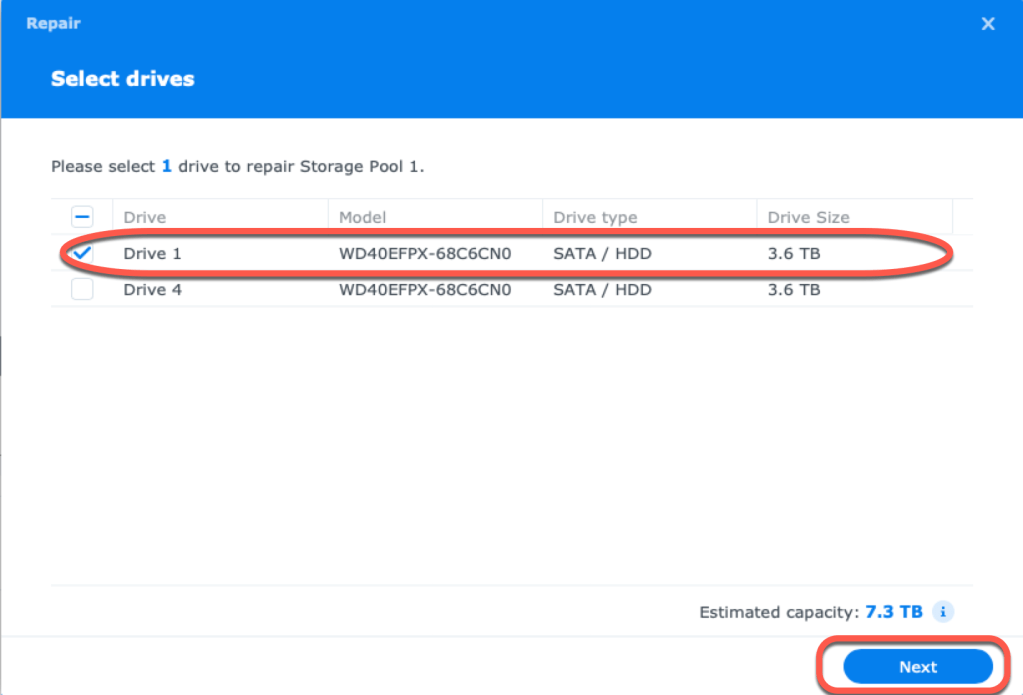
8. Next, select the new drive you just installed as the replacement drive, then click Next.
9. Confirm the new settings look good and click Apply.

You’ll also be prompted to acknowledge any data on the replacement drive will be lost. Click OK to acknowledge.

From here, monitor the repair process. It will take some time, so feel free to go do something else for a little bit.
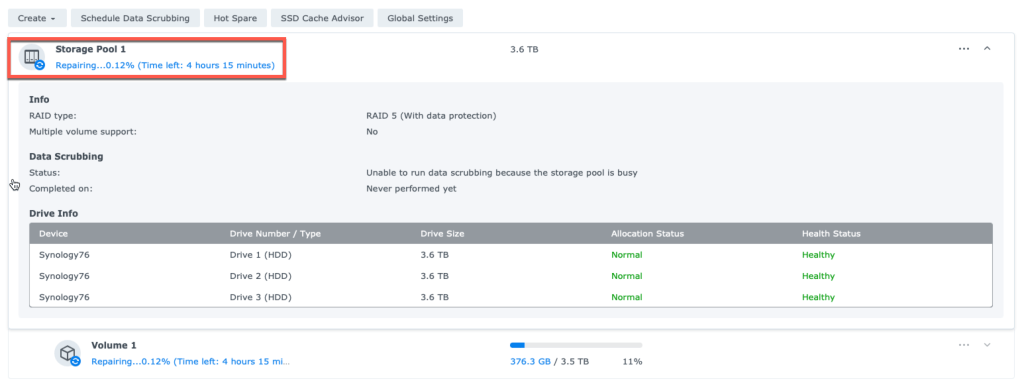
Wash, Rinse, and Repeat!
After the repair finishes, and the storage pool once again shows as Healthy, power down the NAS and replace the next drive. Repeat the above process until all drives have been replaced.
More room for activities!

Once all the drives in the storage pool have been replaced with larger drives you’ll have additional storage space!
Final Thoughts
I can’t understate how easy this was to do once I had my new drives in-hand. The above steps are summarized from my experience. For reference, I used this article from the Synology Knowledge Base.
As always, I’m interested in hearing your thoughts on the subject. Please let me know in the comments! Thanks for stopping by!
Cheers!
