
I’ve recently decided to get started with Raspberry Pi, for a number of reasons. There’s just so much cool stuff you can do with them, from automation projects to learn how to code. For me, I want to learn Python, use it to tinker and try some stuff I’ve been interested in for a while, and I’ll even use it to teach my older son about computers. The Raspberry Pi is great for all these reasons, and tons more, because it’s low cost and super easy to use.
But, probably the biggest reason I want to use a Raspberry Pi is for my certification studies. I’m a Network Deployment Engineer and I’m currently working towards my CCNP Routing and Switching. (if this happens to be your first time on my blog) I can use the Pi to test security hardening on my network devices. For example, it can act as a rogue DHCP server and I can ensure that my IP Source Guard and DHCP snooping configuration is working. It can also run Wireshark and sniff packets on SPAN and RSPAN ports. It could run as a RADIUS server and I can practice configure AAA on routers and switches. There are many awesome uses of a Raspberry Pi in the IT world.
In this article, I’ll go through the steps of getting my new Raspberry Pi 3 B+ up and running.
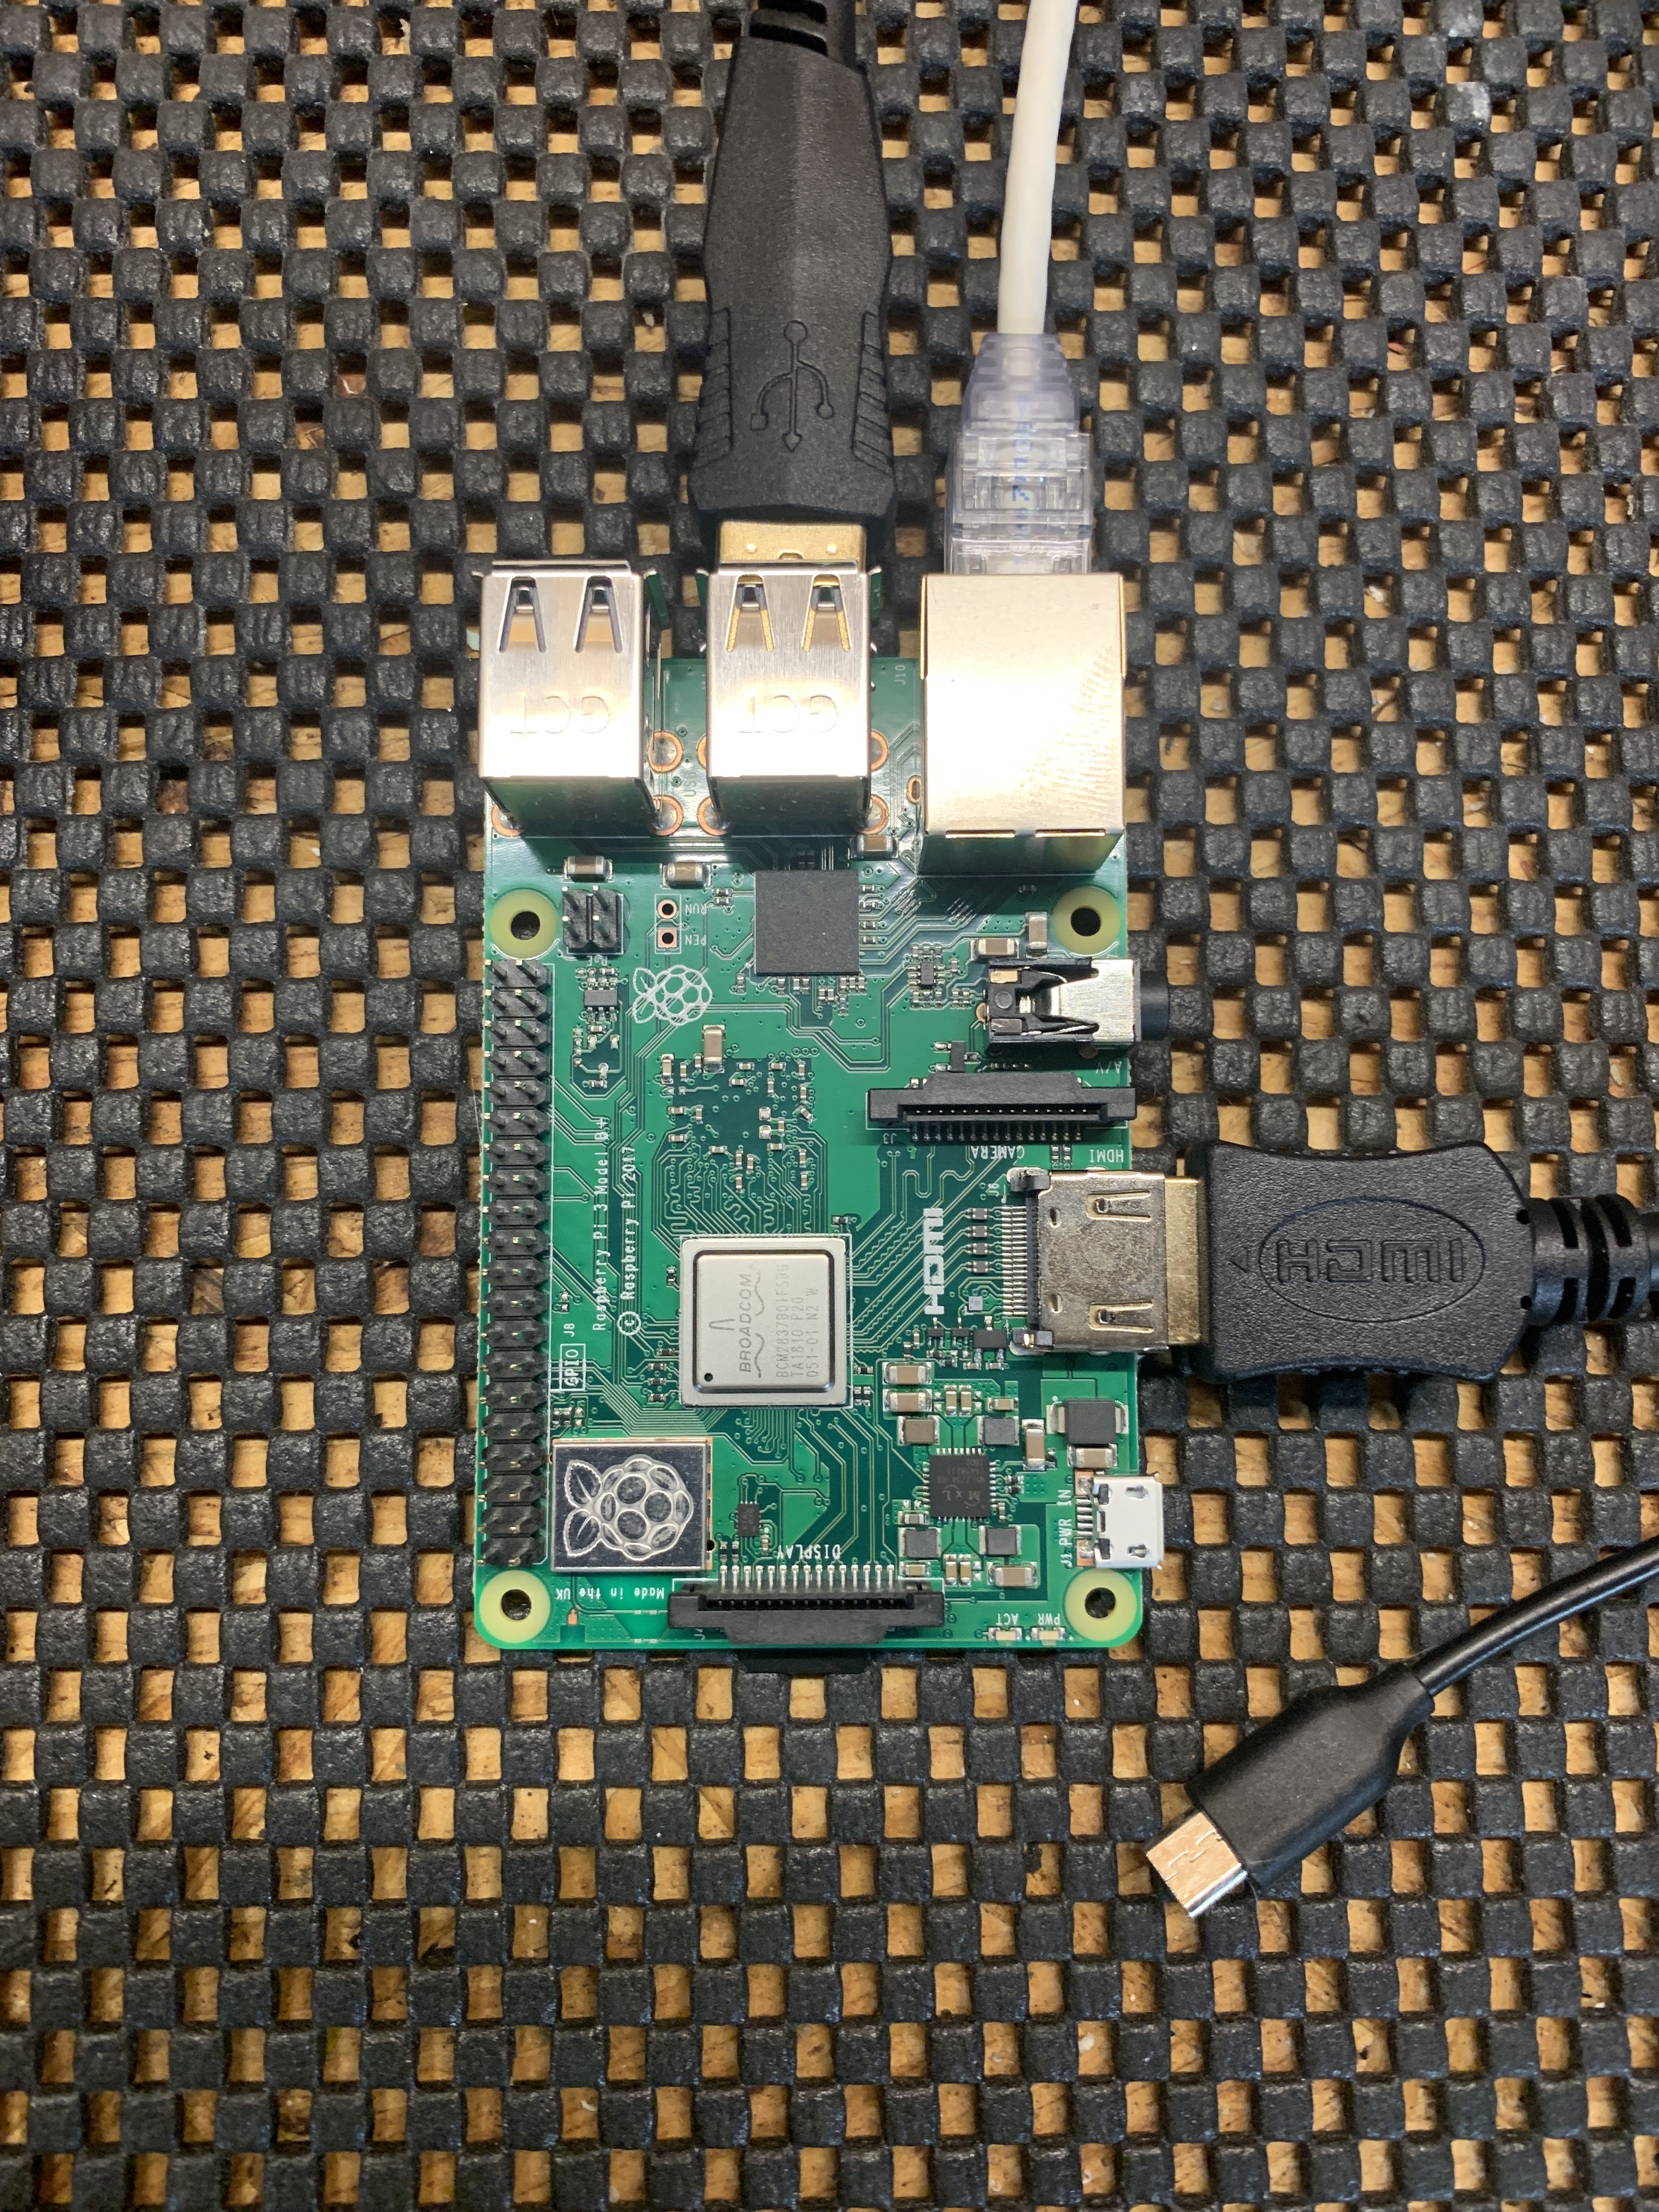
The Hardware
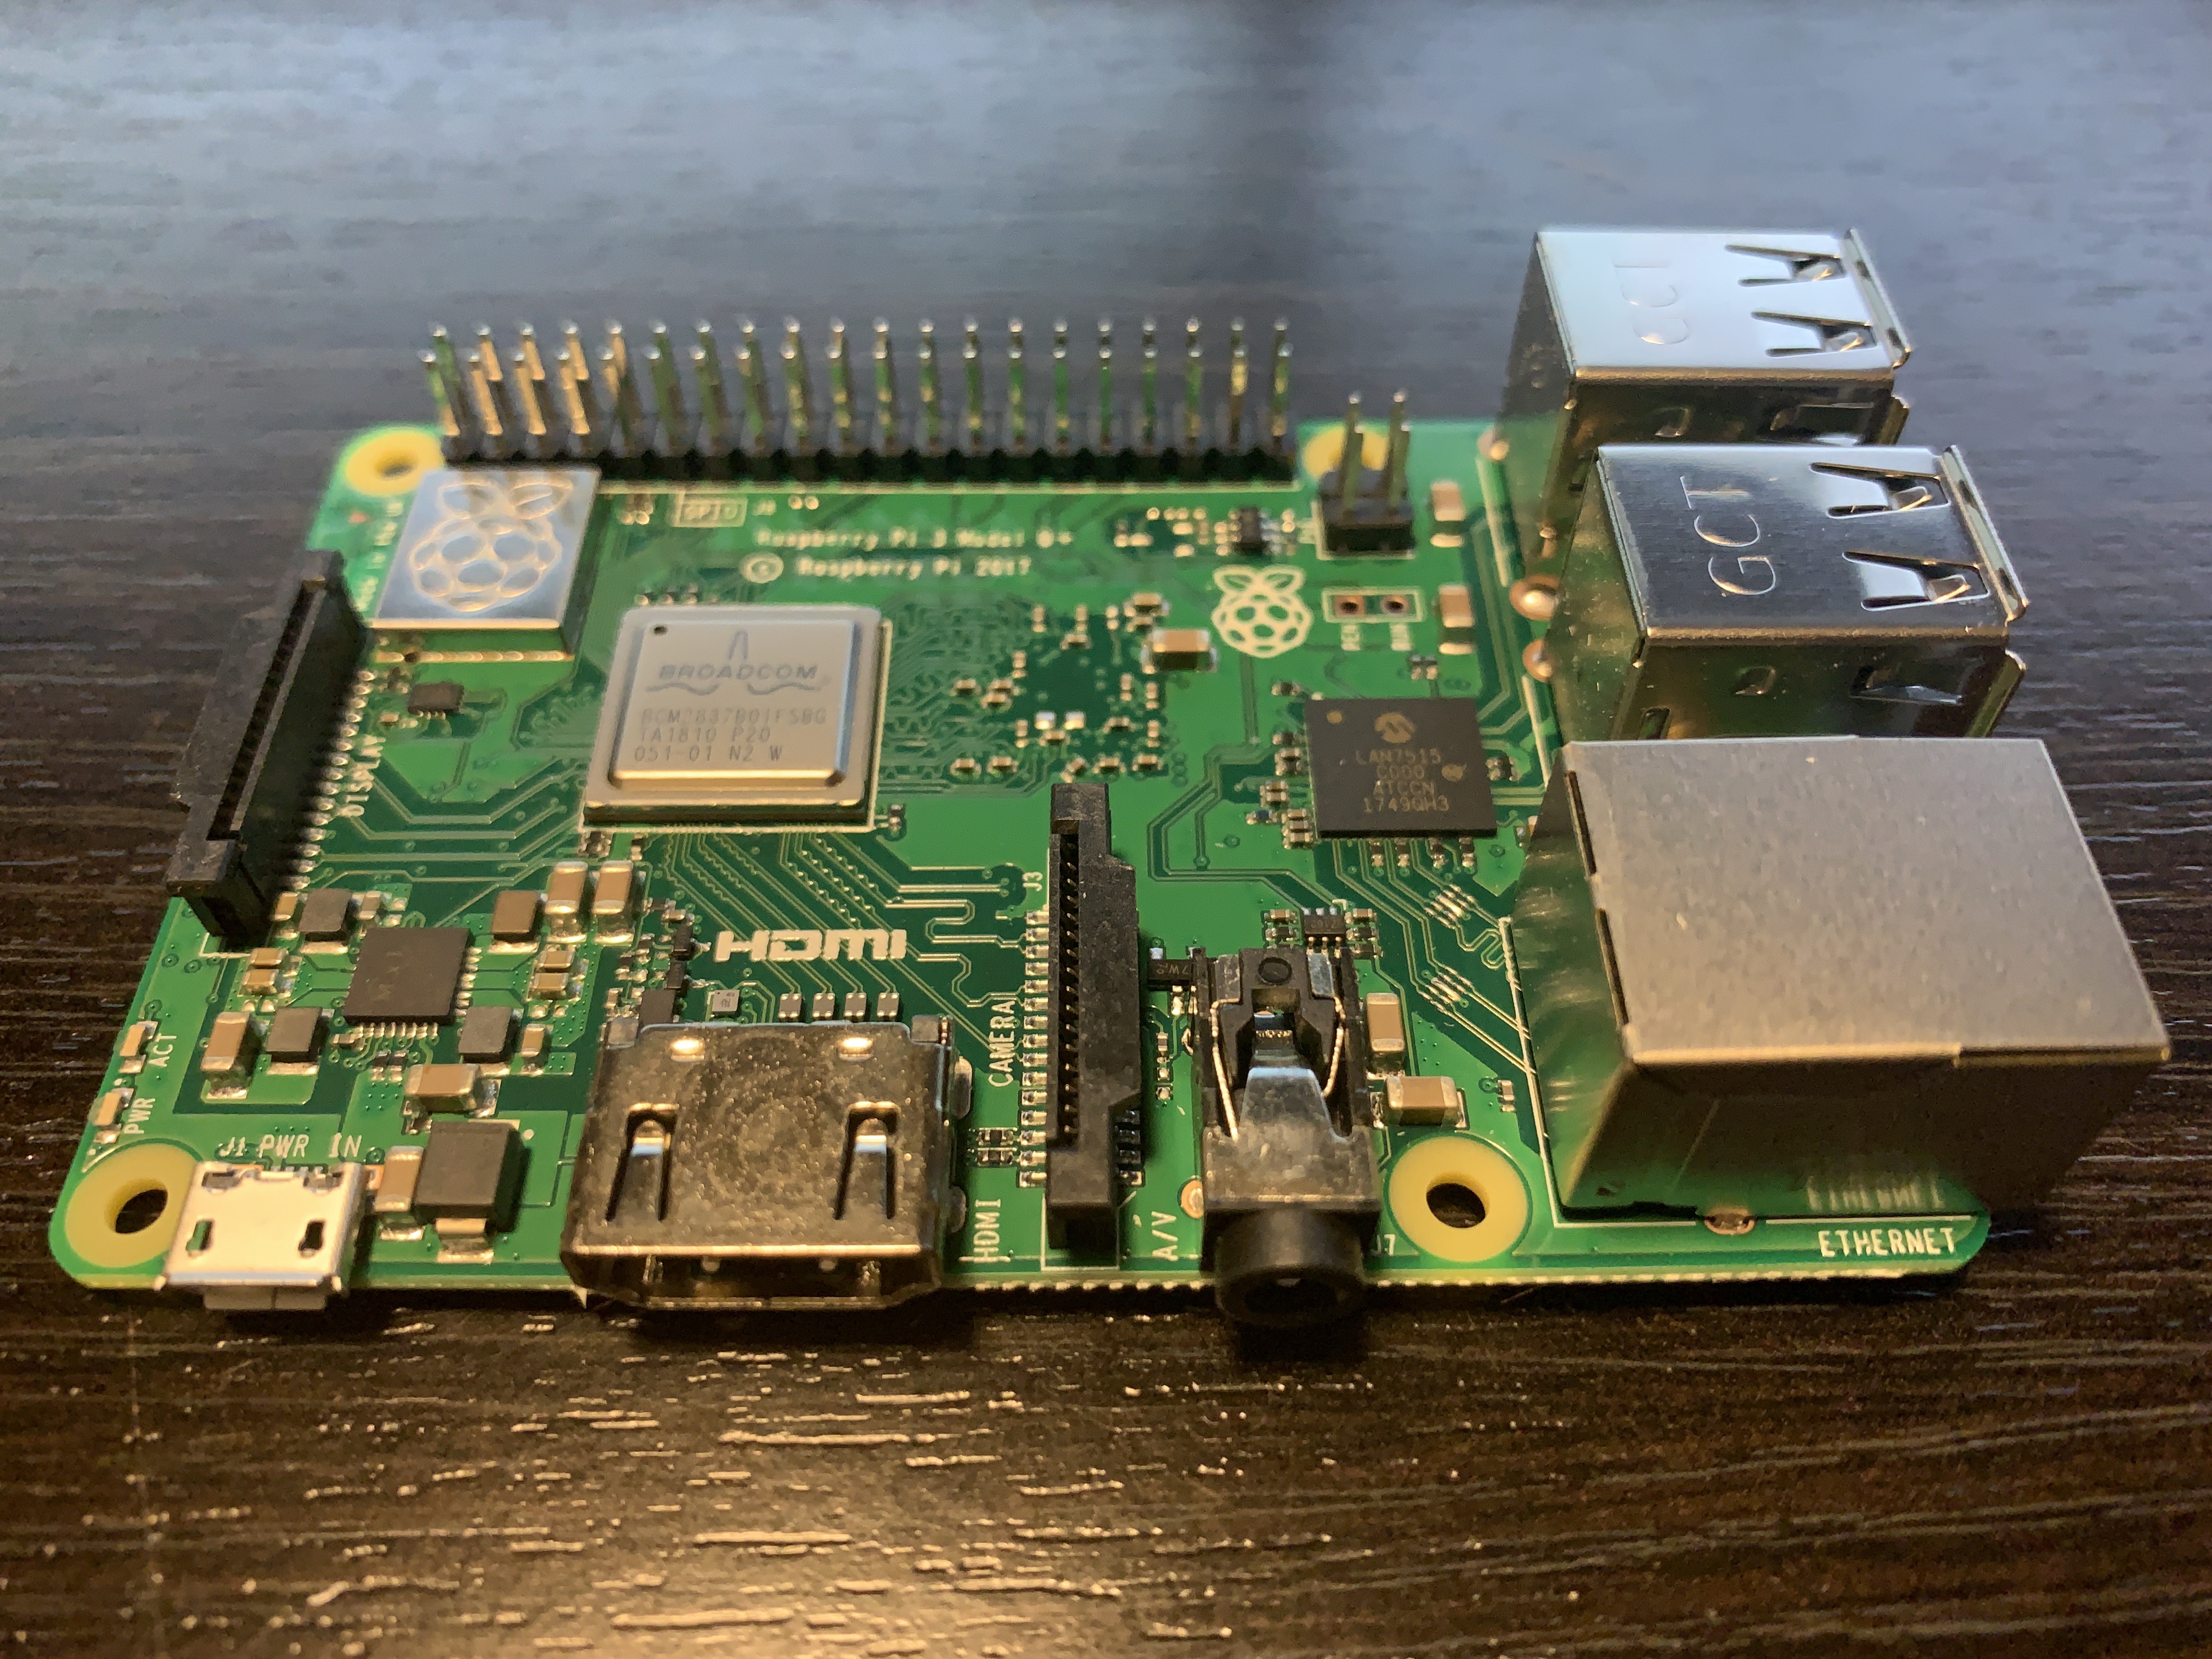
The Raspberry Pi 3 B+ is the latest generation of Pi. It boasts an ARM 64-bit quad-core CPU and a Broadcom Wireless chip supporting 802.11b/g/n/ac Wireless and Bluetooth 4.2 and BLE. For storage, I have 64GB micro SD card.
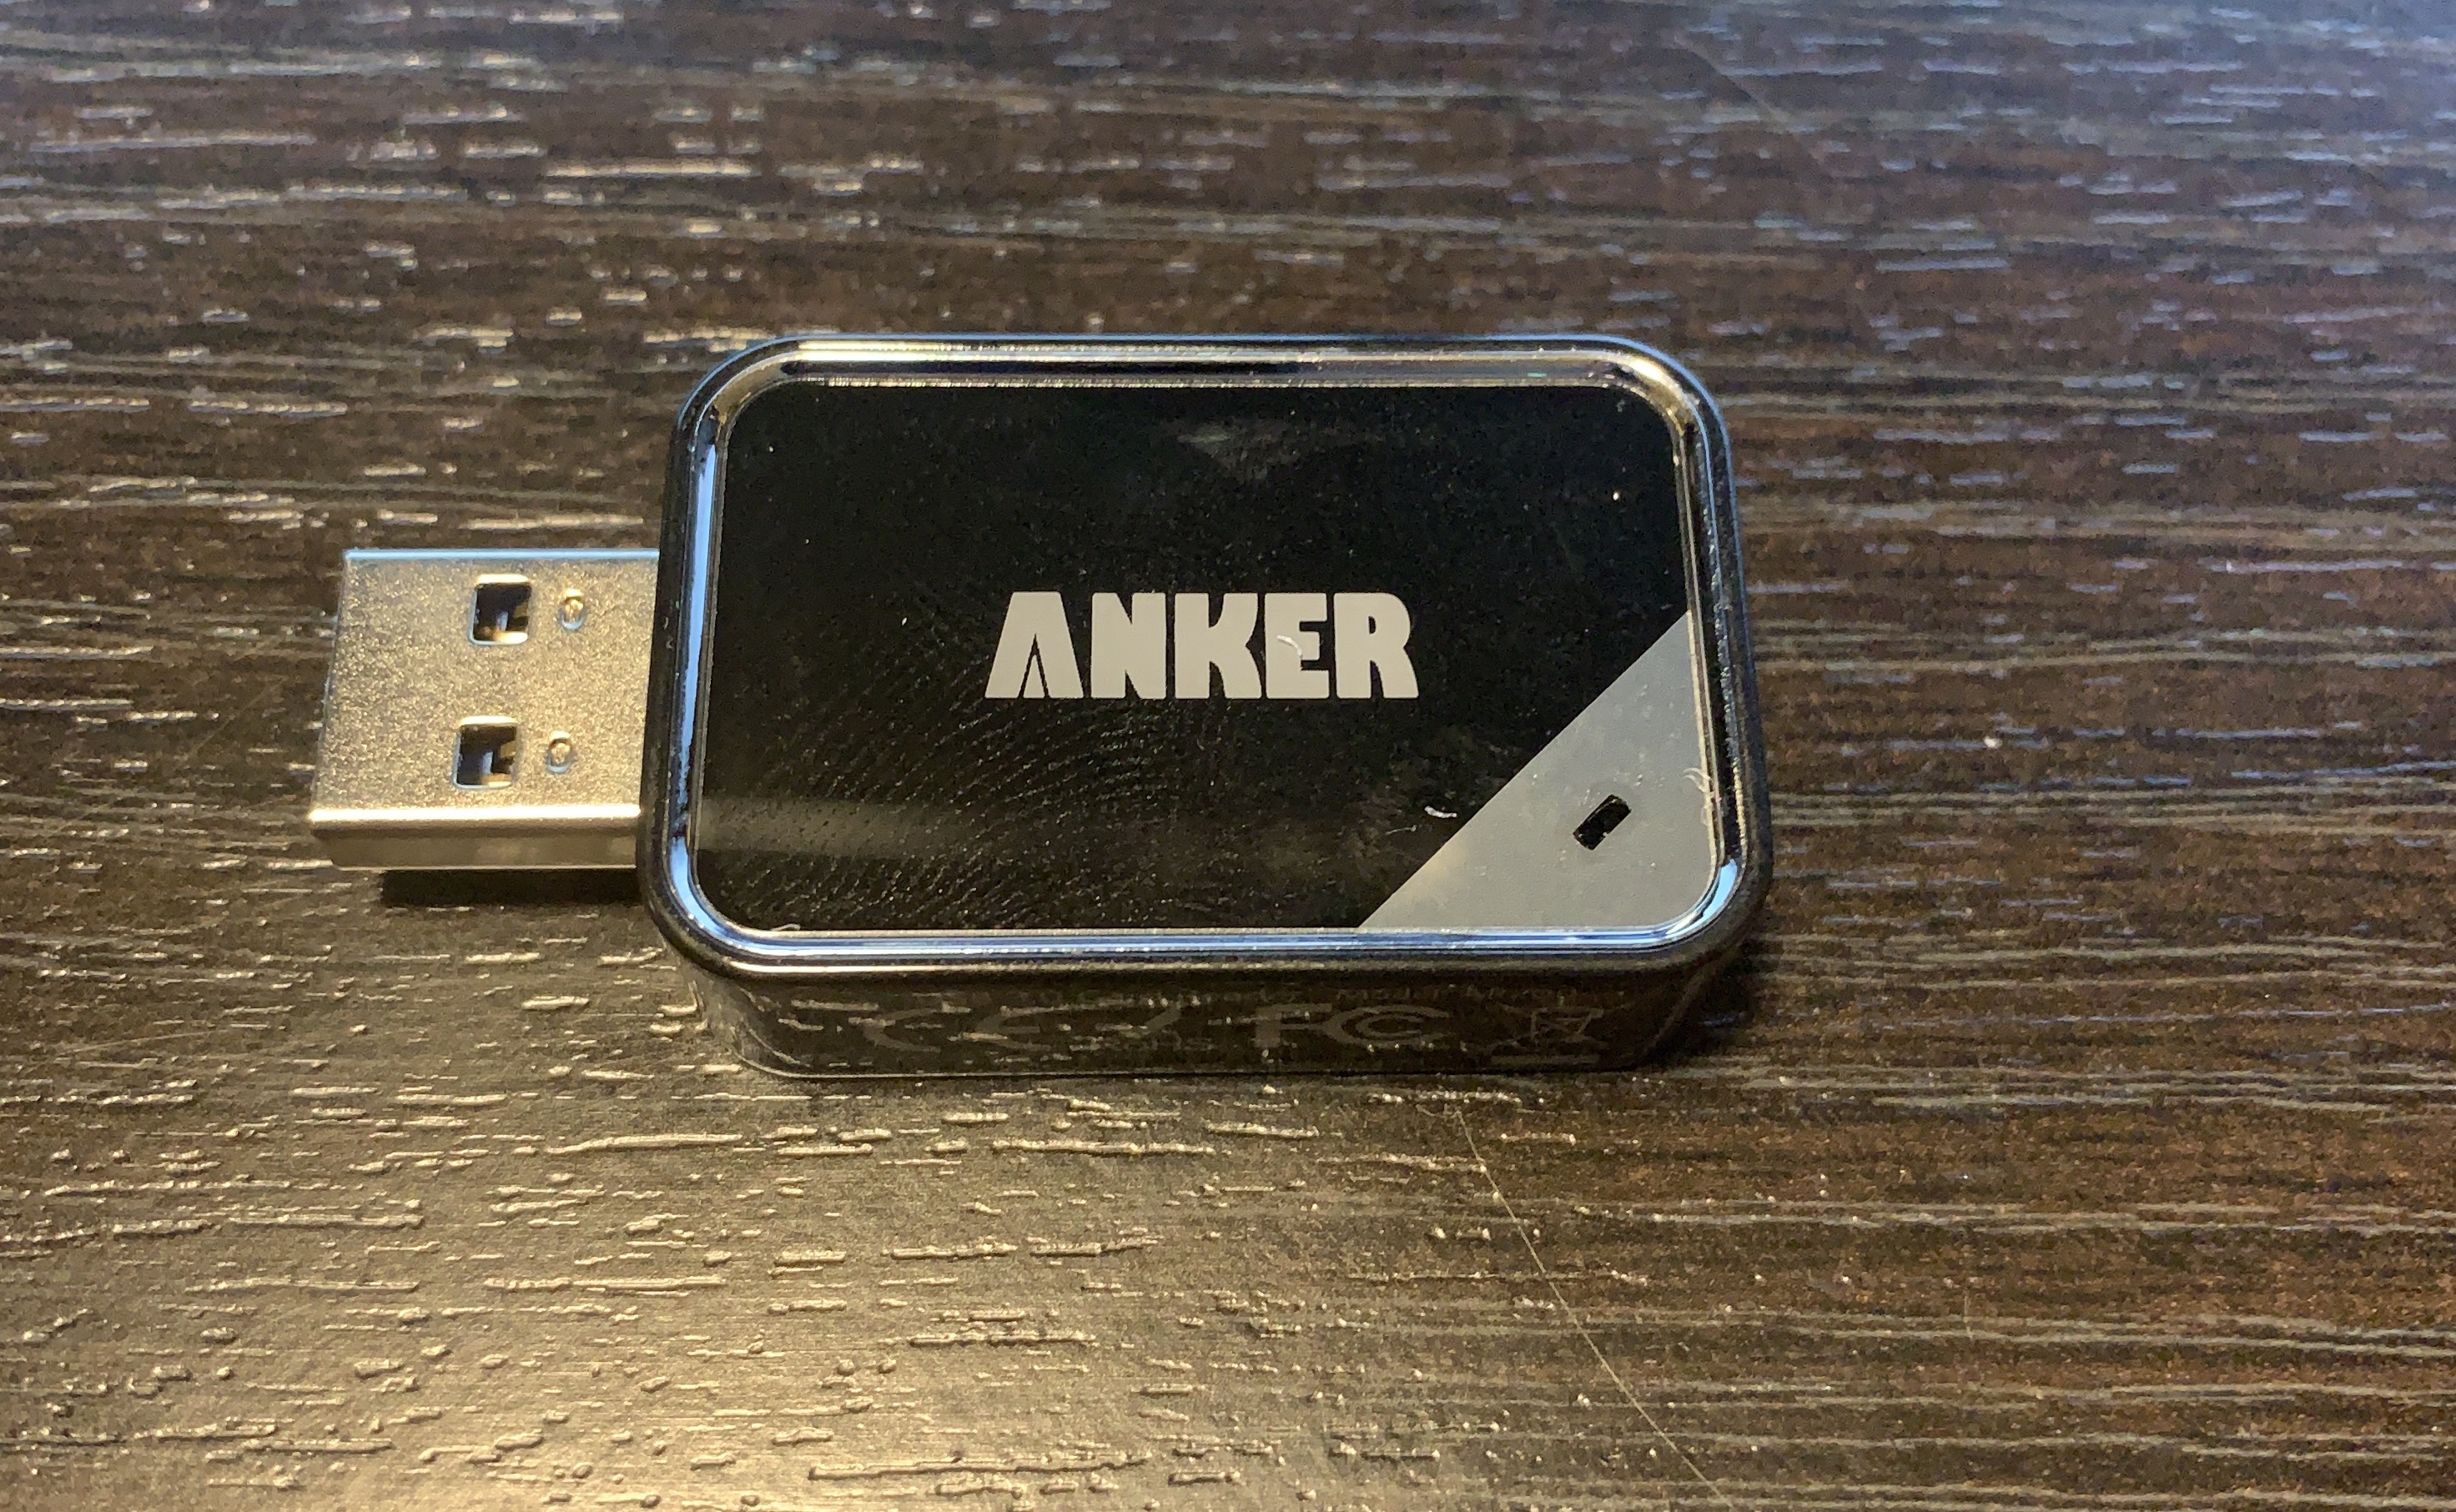
Additionally, my laptop doesn’t have the ability to read to micro SD, or even SD, cards so I had to get an adapter. I chose this one from Anker and it does a great job.
To power the Pi all I’m doing is using a standard iPhone charging brick and a micro USB cable. All you need is 5V and 1A of power output, so most standard USB charging adapters should work, just check the output first.
Alternatively, you can purchase kits that will come with everything you need to get started.
Outside of that, you’ll also need a wired USB keyboard and mouse to start, and an HDMI capable monitor.
The Software
Everything I’ve read points to NOOBS as being the easiest way to get an OS onto your Pi. NOOBS stands for New Out of Box Software. It’s just a small program that boots and lets you install a variety of possible OS platforms for the Raspberry Pi. Using NOOBS I’m going to install Raspbian, which is a lightweight version of Debian Linux for the Raspberry Pi.
Before loading NOOBS you need to first prepare your storage. If you’re using an SD card that’s 32GB or smaller then it’s recommended that you download and use the SD Memory Card formatter application from the SD Association. However, if your card is larger than 32GB, like mine, there’s an alternate method of formatting you must use.
By default, the Formatter Application will see the larger size storage and use exFat, as will Windows. But, NOOBS needs FAT32 in order to work properly. If you don’t use FAT32 and just let Windows or the SD Association application format your card with exFat then the Pi won’t see the card and it won’t boot.
To format the larger cards you can use software like the MiniTool Partition Wizard. It’s available for free for personal use.
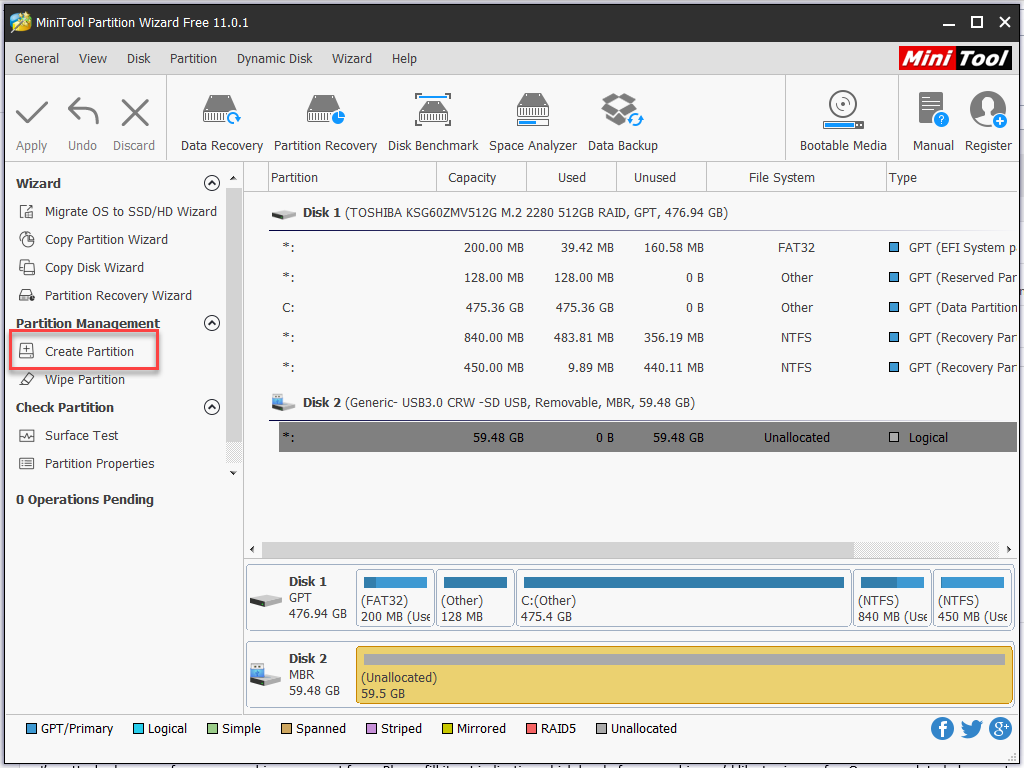
First, insert your card and then open the MiniTool Partition Wizard. Then select the card and delete all partitions.
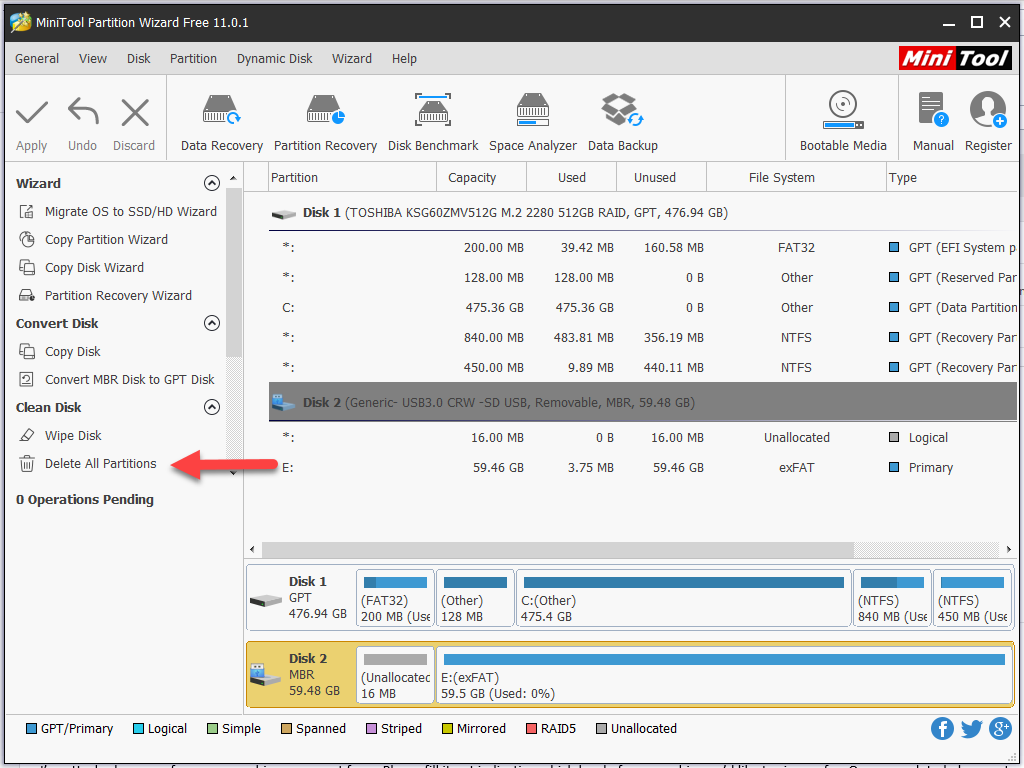
Now, one thing I really like about this program is that it just doesn’t execute upon a click of the mouse. It becomes a pending operation to which you need to then apply. In the screenshot below you can now see a list of Pending Options and Delete All Partitions on Disk 2 is one of them. Now, click apply in the upper left-hand corner.

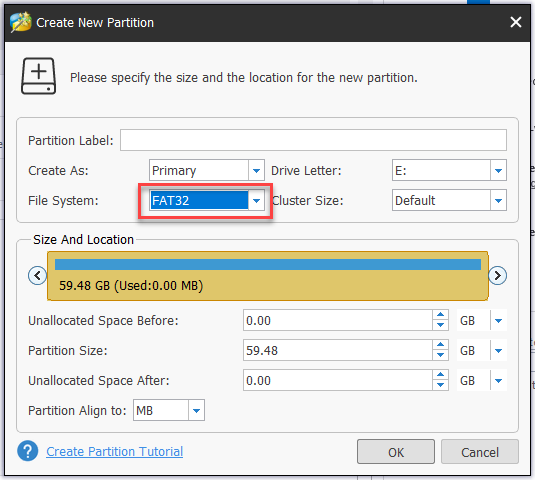
Now the disk is wiped clean, time to format it using Fat32. Select Create Partition.
Then in the Create New Partition window select Fat32 from the File System drop down and then click OK.
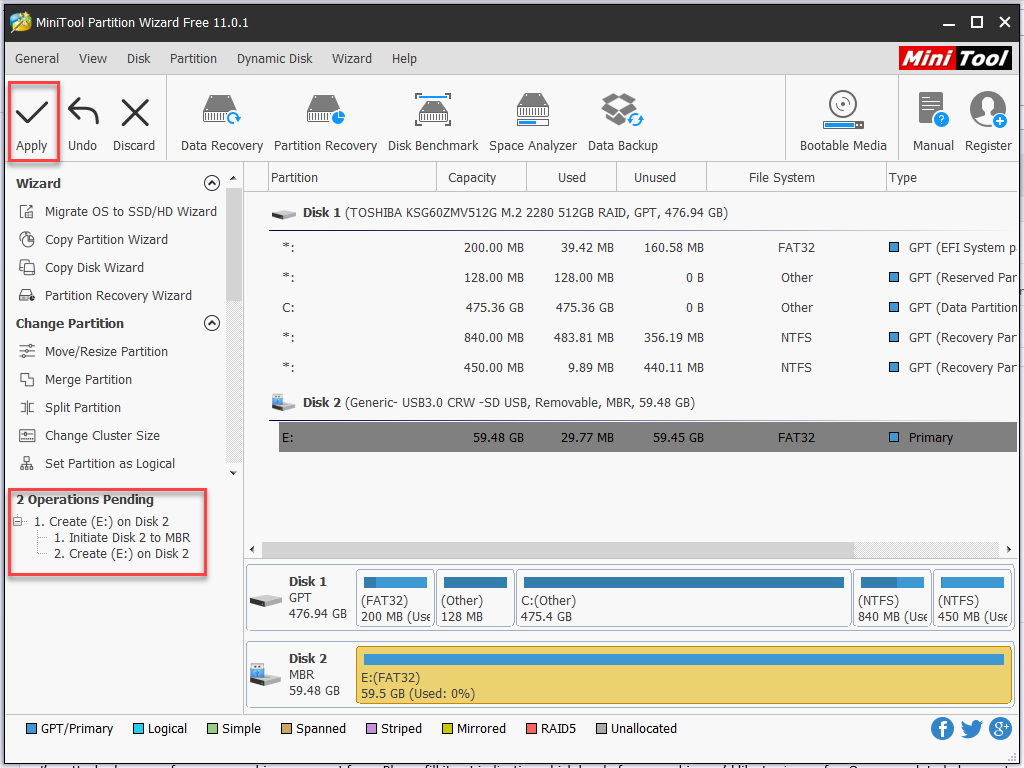
And just like last time now you’ll have operations pending. Click apply to finish formatting the disk.
Now we’re ready to download NOOBS and copy the files to the newly formatted SD Card.
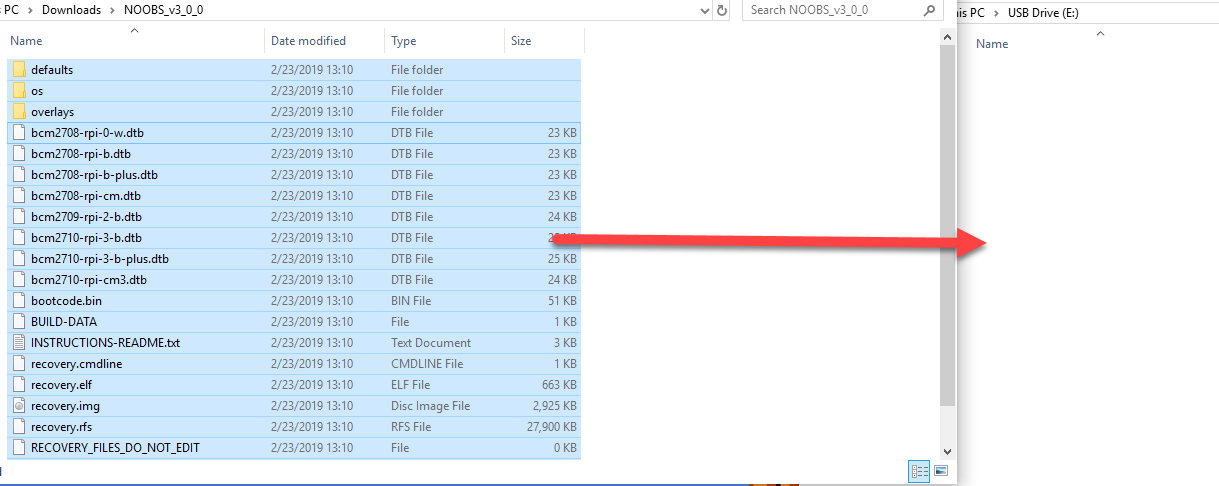
When you download NOOBS it comes as a zipped folder. Extract all the files into another folder. Now, go into that and select all of the files and then copy them onto the SD card.
If you’re following along at home flip the Pi over and you’ll see the SD card slot located on the end of the board. Insert your SD card in that slot. We are now good to go and boot up this Pi for the first time!
Setting up for First Boot
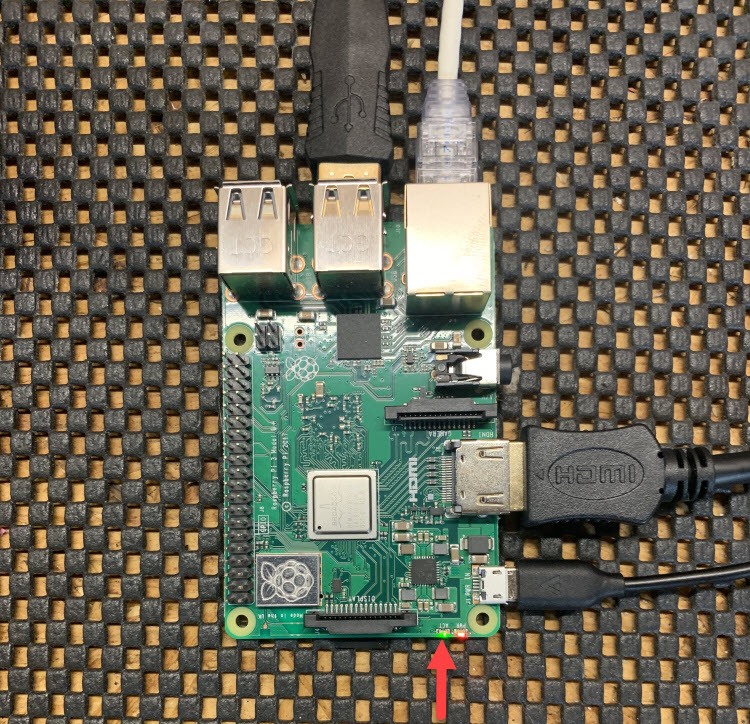
So for booting up for the first time it’s important you hook up all your peripherals first and do the power last. So hook up your mouse, keyboard, video output, network cable (optional, because you can connect to a wireless network in NOOBS) and then your power supply.
When you’re ready, plug the power in. A good indicator that things are going to work is that you should see a green light start to flash, as seen here in the photo below. That means the Pi is reading the SD card and is on it’s way to booting.
Now, NOOBS should boot up to a screen that will allow you to select the OS you want to install. Do so by select the box next to the OS option and then click install in the upper left.
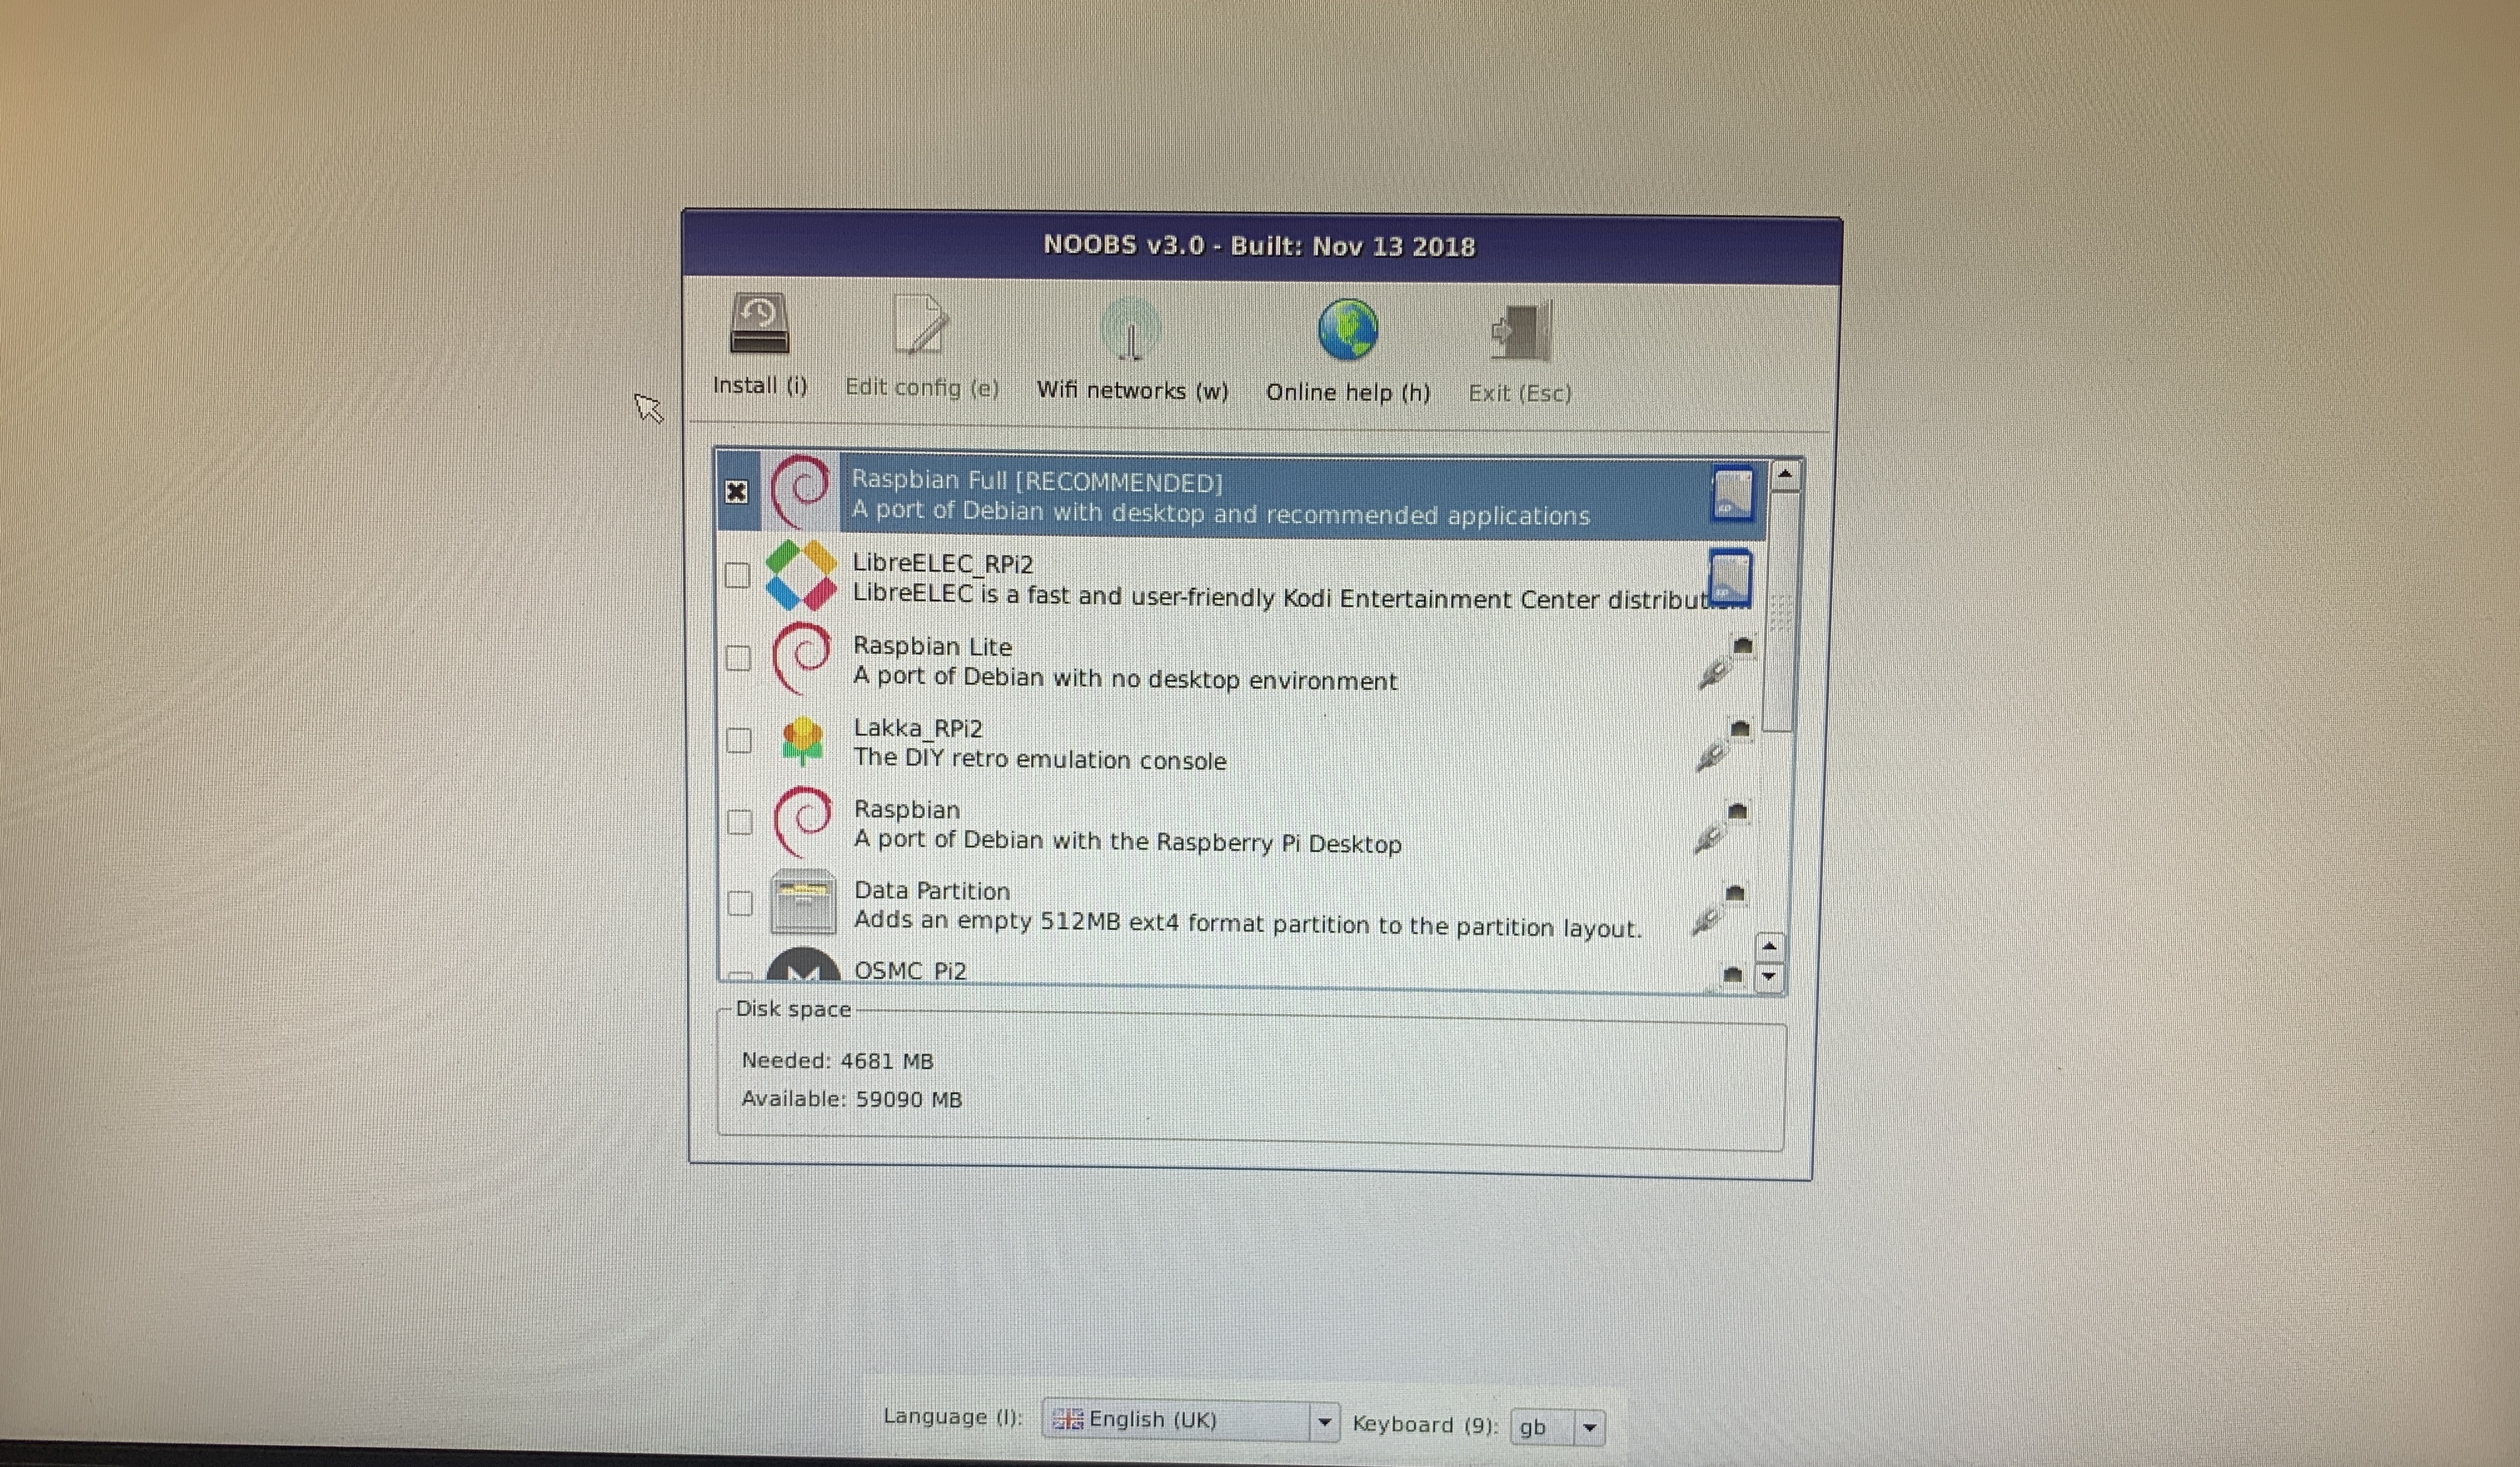
Confirm that you’re okay with the SD card being re-formatted and partitioned for the OS install – and away it goes.
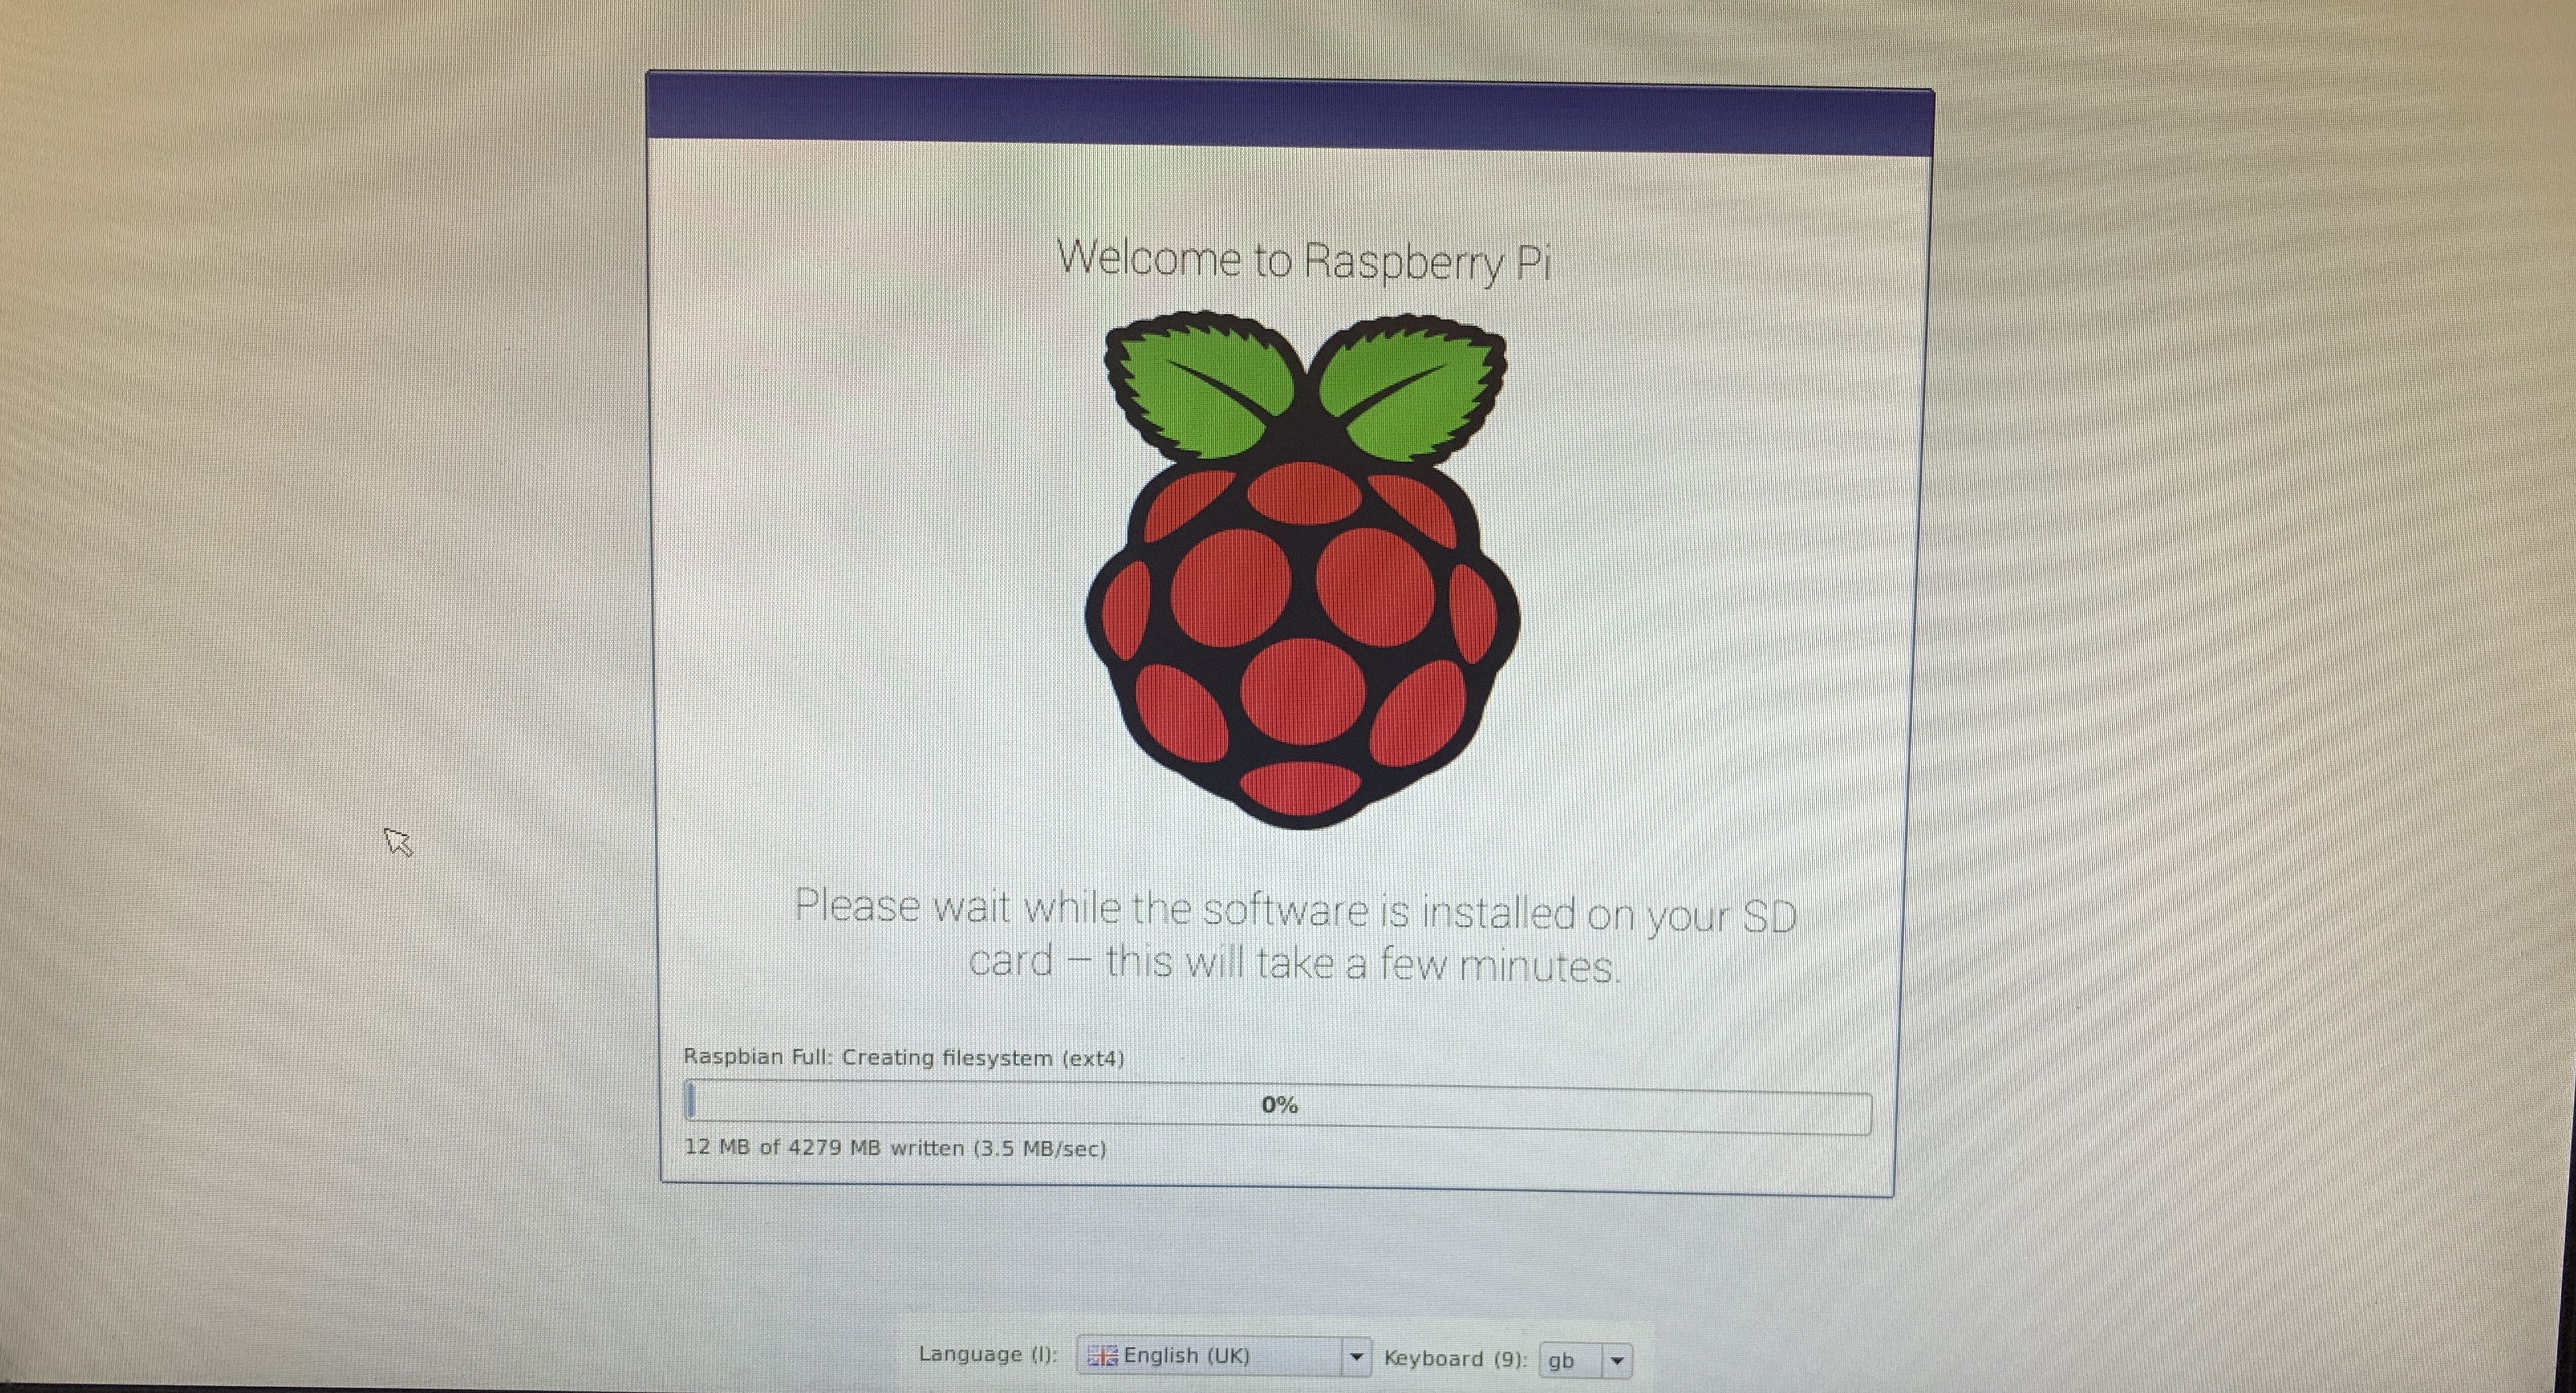
When Raspbian is finished installing you’ll see the screen below. Click okay to reboot.

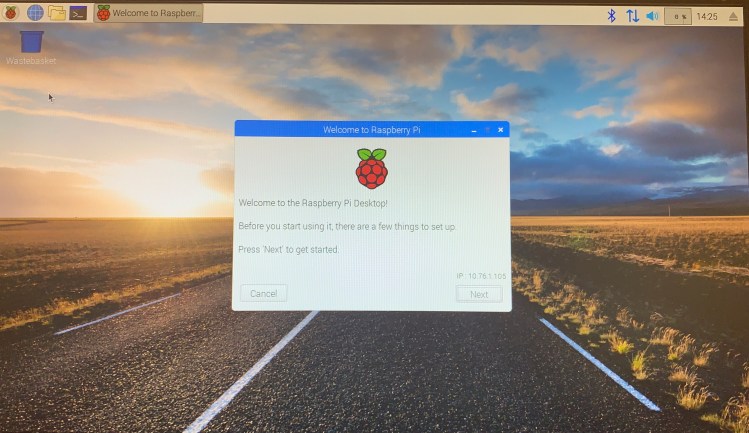
Setup Raspbian
When you first boot into Raspbian you’ll be met with a setup wizard where you can set your locale, change the default password for the default account called Pi, and apply updates. All pretty standard stuff when it comes to installing an OS.
The only thing I wouldn’t do here is applying the updates, and here’s why. If you do it through the wizard here it’ll take forever. In fact, the other evening I was doing this for the very first time and the update process took an extremely long time, and that made me curious. So, I reinstalled Pi, skipped past the update process and then instead ran updates from the command line. It was then very clear to me what was going on.

By default, Raspbian has a preference for IPv6, and that’s fine. It is after all 2019 and there’s a ton of support out there for IPv6. Now, for whatever reason, the update servers were not responding to the IPv6 queries and eventually it would time out and try the next source. After trying all of the sources it would eventually come back around and try IPv4, and that worked flawlessly.

So, to move quicker through the update process skip over it in the wizard and go straight to the command line.
Now, I am by no means a Linux pro. I know just enough about Linux to be very, very dangerous. I do understand that Linux uses a number of config files to get its instructions and these config files can be read and manipulated by the end users to drive desired results. Luckily, using these files we can disable IPv6 and have Raspbian use IPv4 exclusively, even if it’s only temporary while we update the OS.
To do this open a command line session and type in the following:
sudo nano /etc/sysctl.confNow, if you know less Linux than I do let me explain: The first part sudo is short for “Super User Do” it’s like right clicking and running something as Administrator in Windows. Nano is a command line based text editor. /etc/sysctl.conf is the location and file name of the configuration file we’re about to edit. Running the above command opens the file for editing.
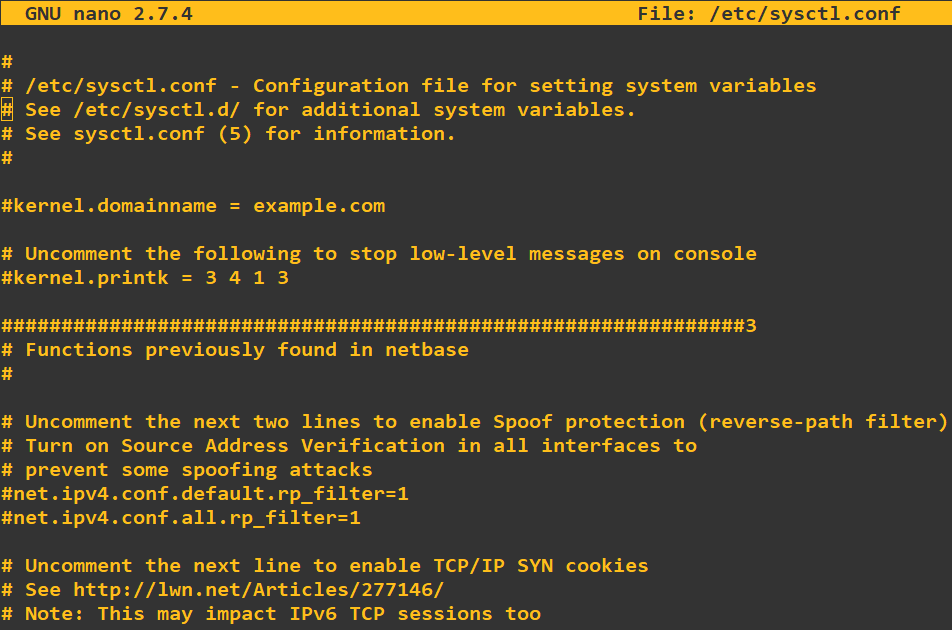
Using your arrow key scroll down to an empty part of the doc, it literally doesn’t matter where. As you can see through the use of the pound (or hash) everything in the file is commented out. You can uncomment parts to enable or disable various networking related functions. In an empty part of the file add the following text:
net.ipv6.conf.all.disable_ipv6 = 1Just save the changes by pressing crtl+X to exit, you’ll be prompted to save the changes you’ve just made by pressing enter and then you’ll exit back to the prompt.
To make the changes take effect without rebooting type in:
sudo sysctl -p and hit enter. It should spit back the line you just entered in.

To check and make sure that it’s working you can run ifconfig – the Linux version of ipconfig and you’ll now see you no longer have an IPv6 address on your network adapters.
From here you can run the following commands:
sudo apt-get update
sudo apt-get upgradeThe first will fetch minor updates and patches and the later will fetch major version releases. As we can see now updates are moving along much faster!

Well, hopefully, you found this helpful. As I start to use my Pi in the lab and on other projects I’ll be sure to post about those here. As always, thanks for stopping by!
